


Want to follow along with the build? Click here to grab the app or fork the project.
With so many choices for which technology to use when building a website, it can get overwhelming. You need to consider who is going to use it, what content to display and who will maintain it. A static website is a great choice when creating a blog, band website or e-commerce store. Static websites are an ode to the past when websites were just plain-ol files on a server you accessed via URL. They provide benefits like being fast, having great SEO and not being dependent on a certain runtime like PHP. This is in comparison to a server-rendered website like what you would have with Wordpress, Drupal or Ruby on Rails.
Static websites are built using static assets. The next question becomes where to store (and manage) this content. If you are a solo webmaster, the content can be files in a Git repo. If you have clients or other developers who will want to manage the content, a CMS (Content Management System) is what you need. A CMS is a service which stores your website content, for example blog posts and concert dates.
 Cosmic CMS!
With Next.js SSG, we are using the CMS in a "headless" fashion. After trying a bunch of Headless CMS offerings, one I've stuck with is Cosmic. Cosmic is an intuitive, powerful, and simple-to-use service which lets us get up and running quickly. They provide many starter apps that you can preview or fork. For example, I chose the Next.js Static Blog and had a production version of the website running in under 5 minutes.
Choosing the Tech
Next.js with GraphQL is my personal choice when it comes to Static site development. Next.js is a hybrid React framework which supports building static websites. It also lets you build server-side rendered pages when the need arises. It handles routing, has a large community supporting it making it one of the best ways to build a React app in 2020. The other tech you may have heard also does this is Gatsby.js. Gatsby is more user-friendly but is more opinionated with its technology choices (forced use of GraphQL versus it being a choice).
We are choosing to use GraphQL over the Cosmic NPM module. GraphQL is a standardized way to get data from services and is a great choice when needing to get data from a CMS. As you create custom data types in Cosmic, you are able to query for it in the GraphQL API. One of the benefits of using GraphQL is that you are less dependent on a specific SDK.
Tutorial
For reference, I forked the example Cosmic Next.js project here.
Creating the Cosmic Project
After creating an account on Cosmic and going through the product tour, you will be shown the “Create New Bucket” screen.
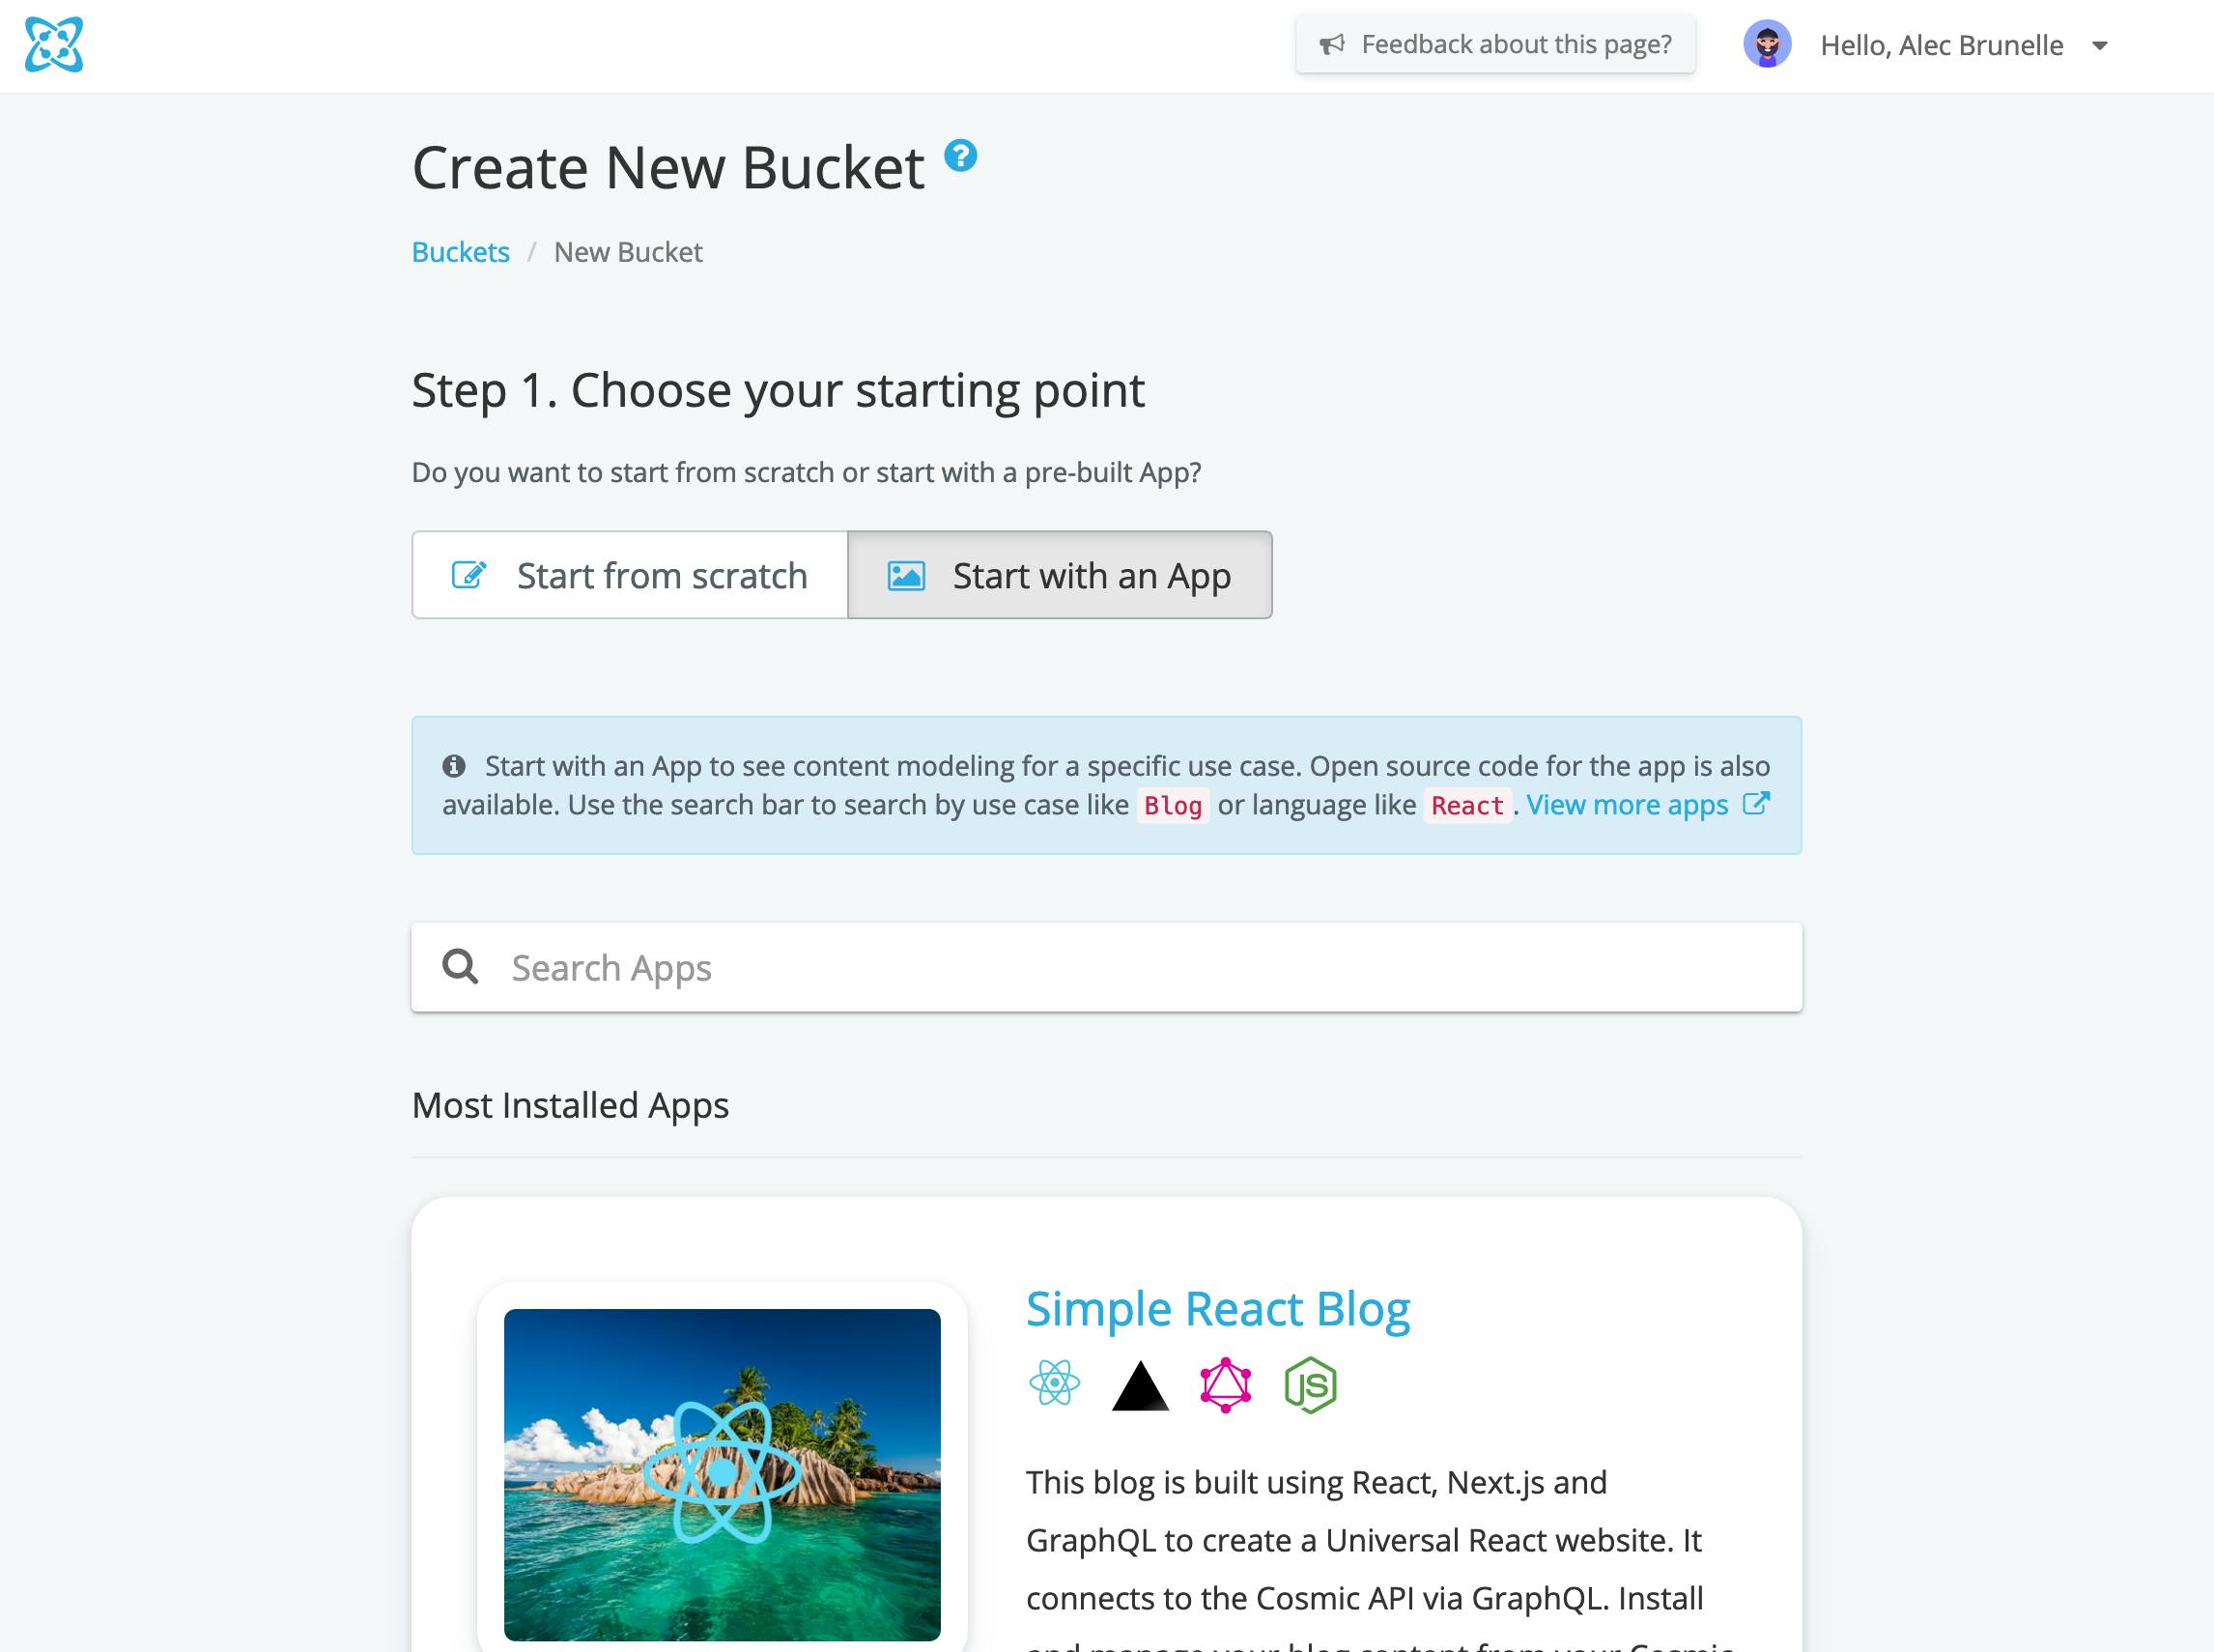
Click "Start with an App" then search and select "Next.js Static Blog" from the list of apps presented. This will do many of things.
- Create a Cosmic bucket
- Create sane data-types inside the bucket for use with a blog
- Fill the bucket with demo content

Here is what the created bucket looks like on your Cosmic dashboard
Next.js local development
The next thing we need to do is clone the Next.js code to our local environments. This will enable us to run the Next.js locally and pull content from the demo Cosmic bucket we created.
git clone git@github.com:aleccool213/nextjs-cosmic-graphql-app.git
You can also choose to create a GitHub repository for yourself using the template.
Once inside the new directory, make sure you are using the correct Node.js version by using NVM.
nvm use v12.18.3
Install Yarn and install the project dependencies.
brew install yarn && yarn
Run the app!
yarn dev
Almost there!
Cosmic Environment Variables
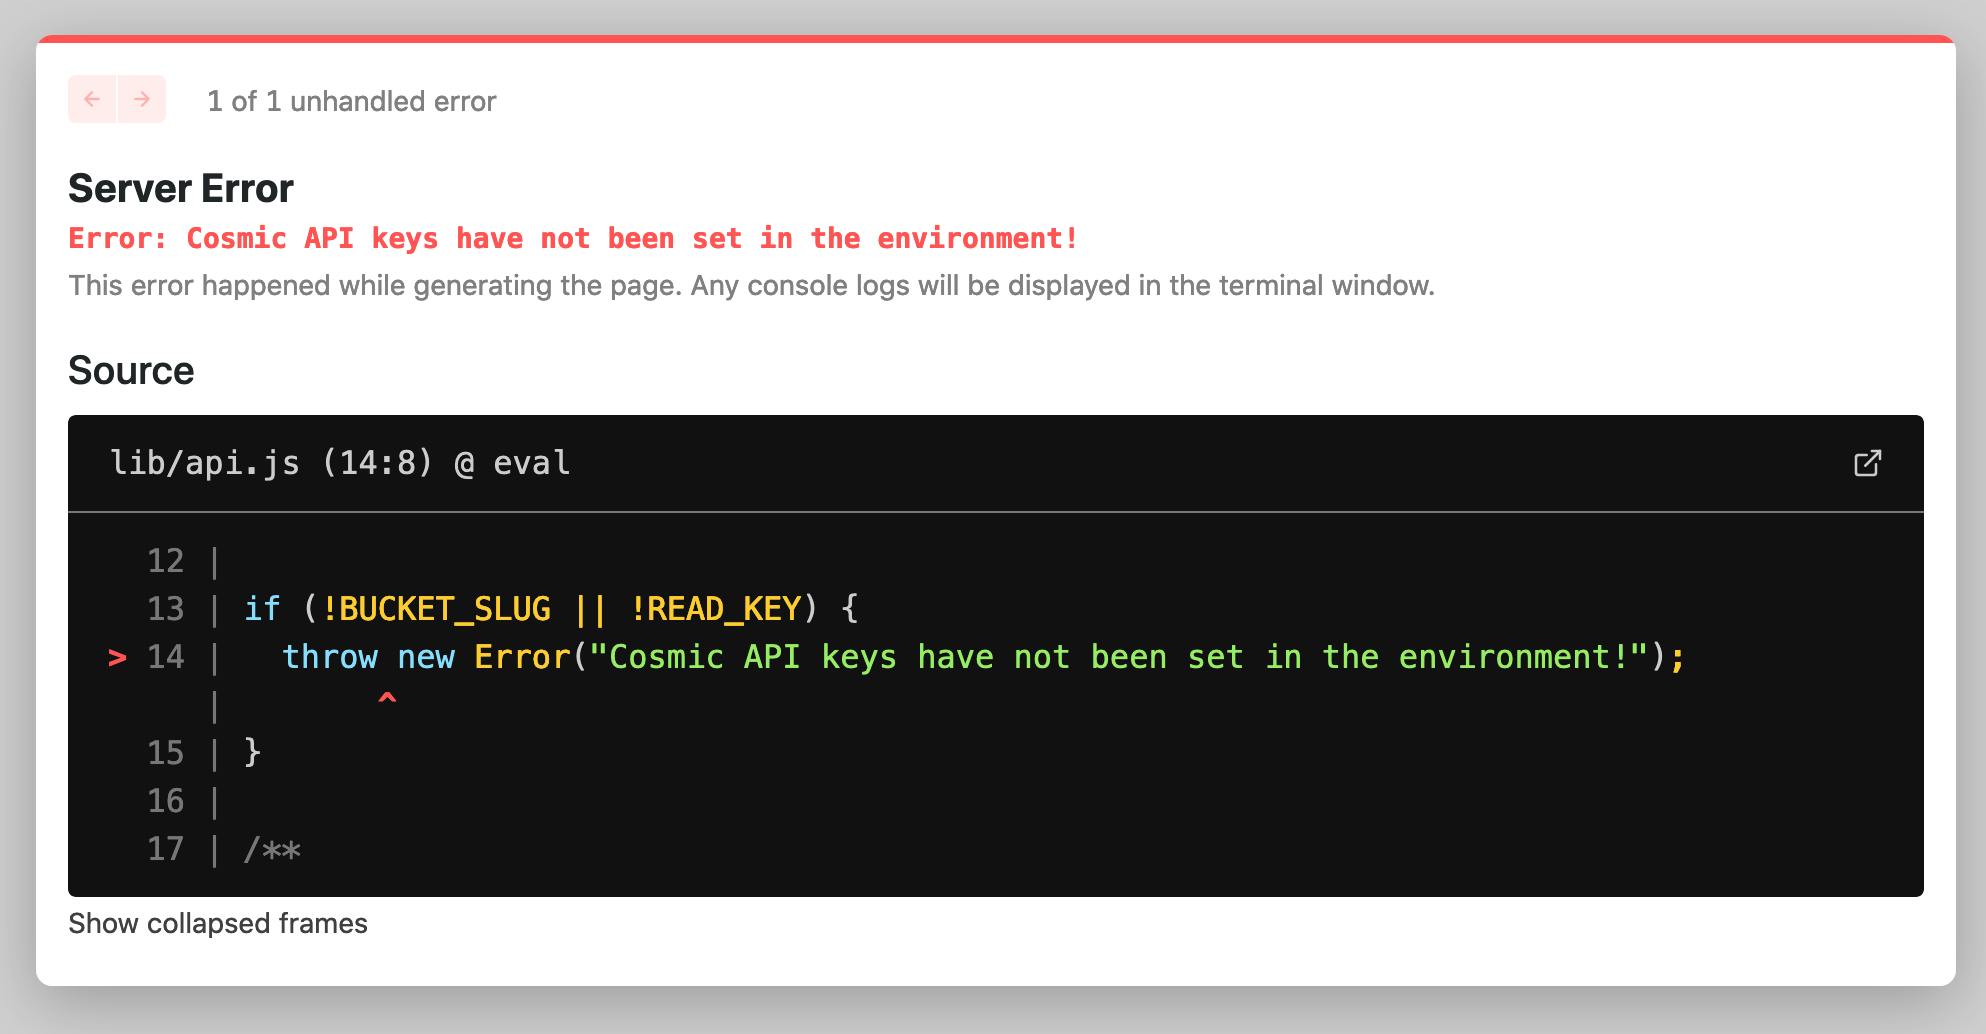
Before we are able to query the Cosmic GraphQL API, our app needs to know where it lives. Environment Variables are deployment specific values which contain sensitive things like API keys.
There are three env vars we need to define to have the app work locally. Create a file named .env.local (don't worry it's ignored by Git), it should look like this:
COSMIC_BUCKET_SLUG=demo-nextjs-static-blog
COSMIC_READ_KEY=77H1zN7bTktdsgekxyB9FTpOrlVNE3KUP0UTptn5EqA7T0J8Qt
# Preview secret can be anything you choose
COSMIC_PREVIEW_SECRET=iwvrzpakhaavqbihwlrv
To get these values, head over to the Settings sidebar menu in your bucket, and click "Basic Settings".
Run the app again with yarn dev
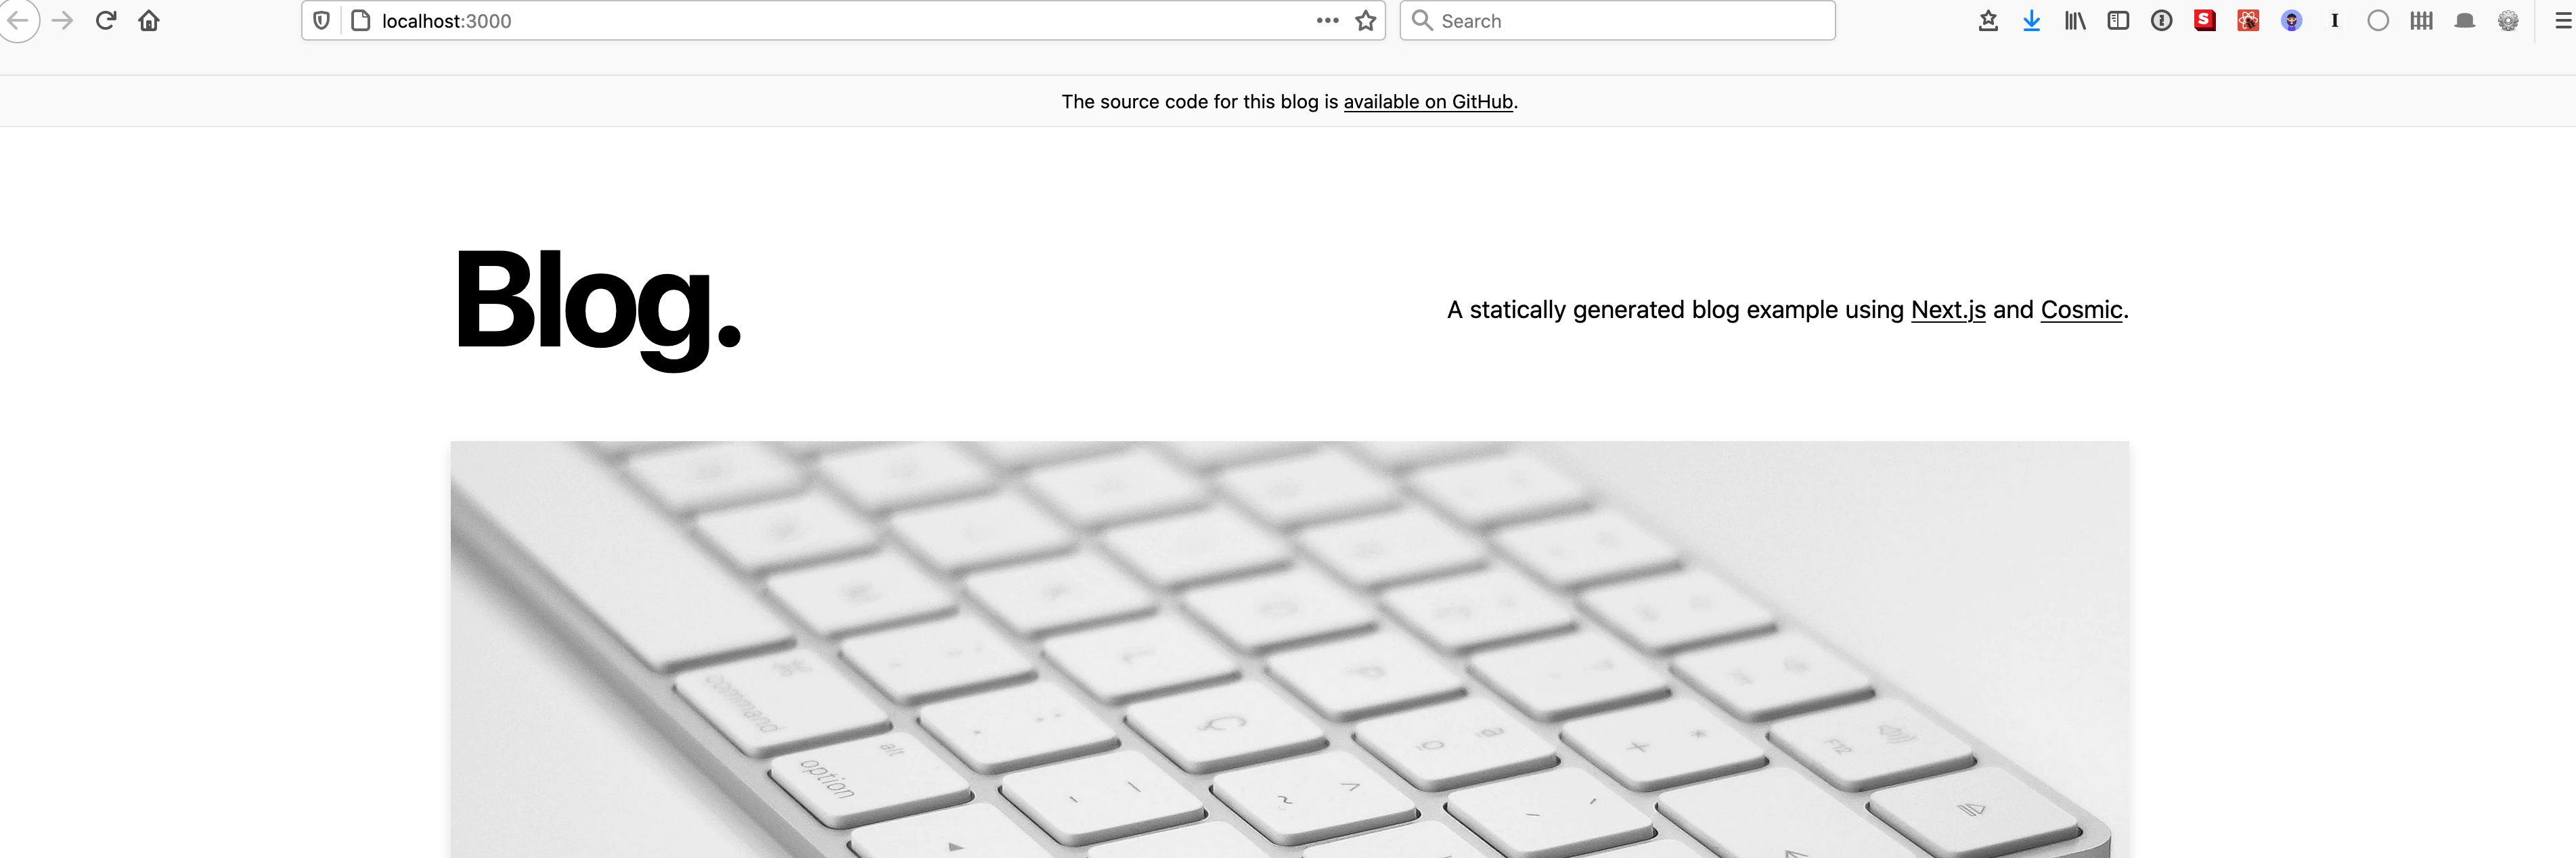
And we are up!
Looking inside the box
There are two things that we need to understand when it comes to Statically-Generated Next.js apps, pages and routes. Pages are content which depend on external data, and routes are URL routes which depend on external data. Both have you defining special Next.js specific functions, getStaticProps and getStaticPaths.
The file which contains the logic for generating page content based on the Cosmic GraphQL API is located at pages/posts/[slug].js.
export async function getStaticProps({ params, preview = null }) {
  // Get the data from the API
  const data = await getPostAndMorePosts(params.slug, preview);
  // Convert markdown content to HTML content
  const content = await markdownToHtml(data.post?.metadata?.content || "");
  return {
    props: {
      preview,
      post: {
        ...data.post,
        content,
      },
      morePosts: data.morePosts || [],
    },
  };
}
export async function getPostAndMorePosts(slug, preview) {
  // Query for the data through the Cosmic GraphQL API using Apollo Client
  ...
  const moreObjectsResults = await client.query({
    query: gql`
      query getPostQuery(
        $bucketSlug: String!
        $readKey: String!
        $status: status
      ) {
        getObjects(
          bucket_slug: $bucketSlug
          input: {
            read_key: $readKey
            type: "posts"
            status: $status
            limit: 3
          }
        ) {
          objects {
            _id
            slug
            title
            metadata
            created_at
          }
        }
      }
    `,
    variables: {
      bucketSlug: BUCKET_SLUG,
      readKey: READ_KEY,
      status,
    },
  });
This is one example of a page using getStaticProps. It is also used in the Index page for getting all the blog post titles and excerpts.
pages/posts/[slug].js also contains getStaticPaths which tells our Next.js app which routes to generate.
export async function getStaticPaths() {
  // Get all post data (including content)
  const allPosts = (await getAllPostsWithSlug()) || [];
  return {
    // Tell Next.js all of the potential URL routes based on slugs
    paths: allPosts.map((post) => `/posts/${post.slug}`),
    fallback: true,
  };
}
After understanding these two aspects, the blog is just a regular React app.
Deploying
Now that we have our website working locally, let's deploy it to Vercel. The first step is making sure you have the code in a Git repository.
I recommend you have the code in GitHub. You can use the GitHub CLI to create a repo in your current directory with gh repo create.
We now need to sign up for Vercel and have it use the code from the GitHub repo. You can sign up for Vercel with your GitHub account here. You can import the code from GitHub using the "Import Project" feature.
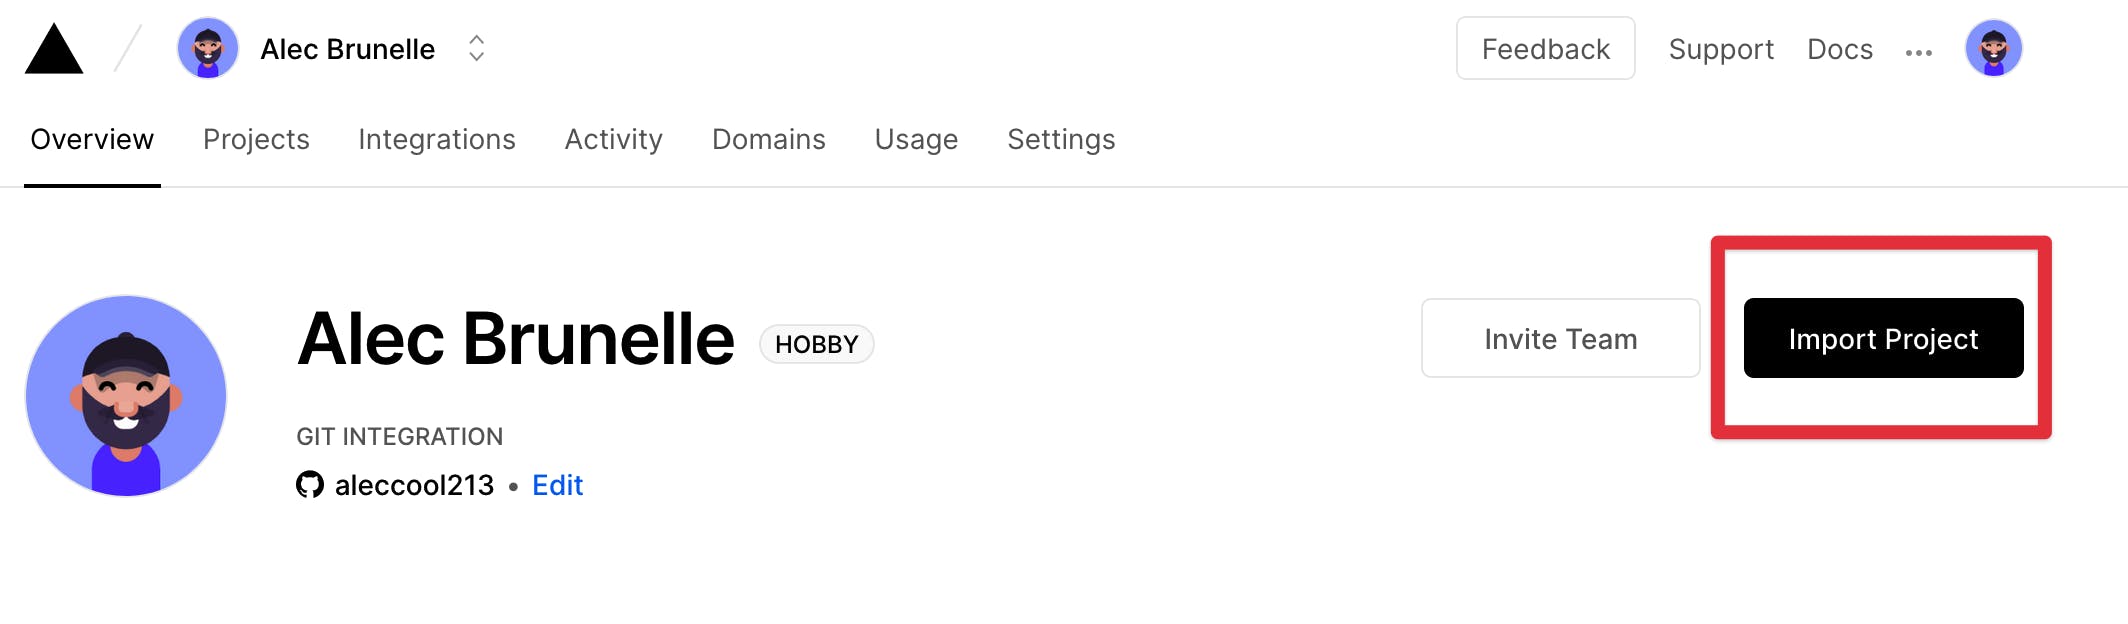
When importing the project, make sure you define the environment variables, COSMIC_BUCKET_SLUG, COSMIC_READ_KEY, and COSMIC_PREVIEW_SECRET.
When deployed, all pushes to your default Git branch will have Vercel deploy a new version of your website!
Bonus
Previewing
The Next.js docs on preview mode are right here.
Local development and deploying the website to production will cover most of your use-cases. Another common workflow is saving a draft of changes on your CMS and then previewing those changes on your local machine. To do so, we will enable "Preview" mode both on Cosmic and our Next.js app.
First thing we will need to do is have Cosmic know that the Posts object type will be preview-able. On the Posts setting page, add the preview link.
http://localhost:3000/api/preview?secret=iwvrzpakhaavqbihwlrv&slug=[object_slug]
When finished, click "Save Object Type".
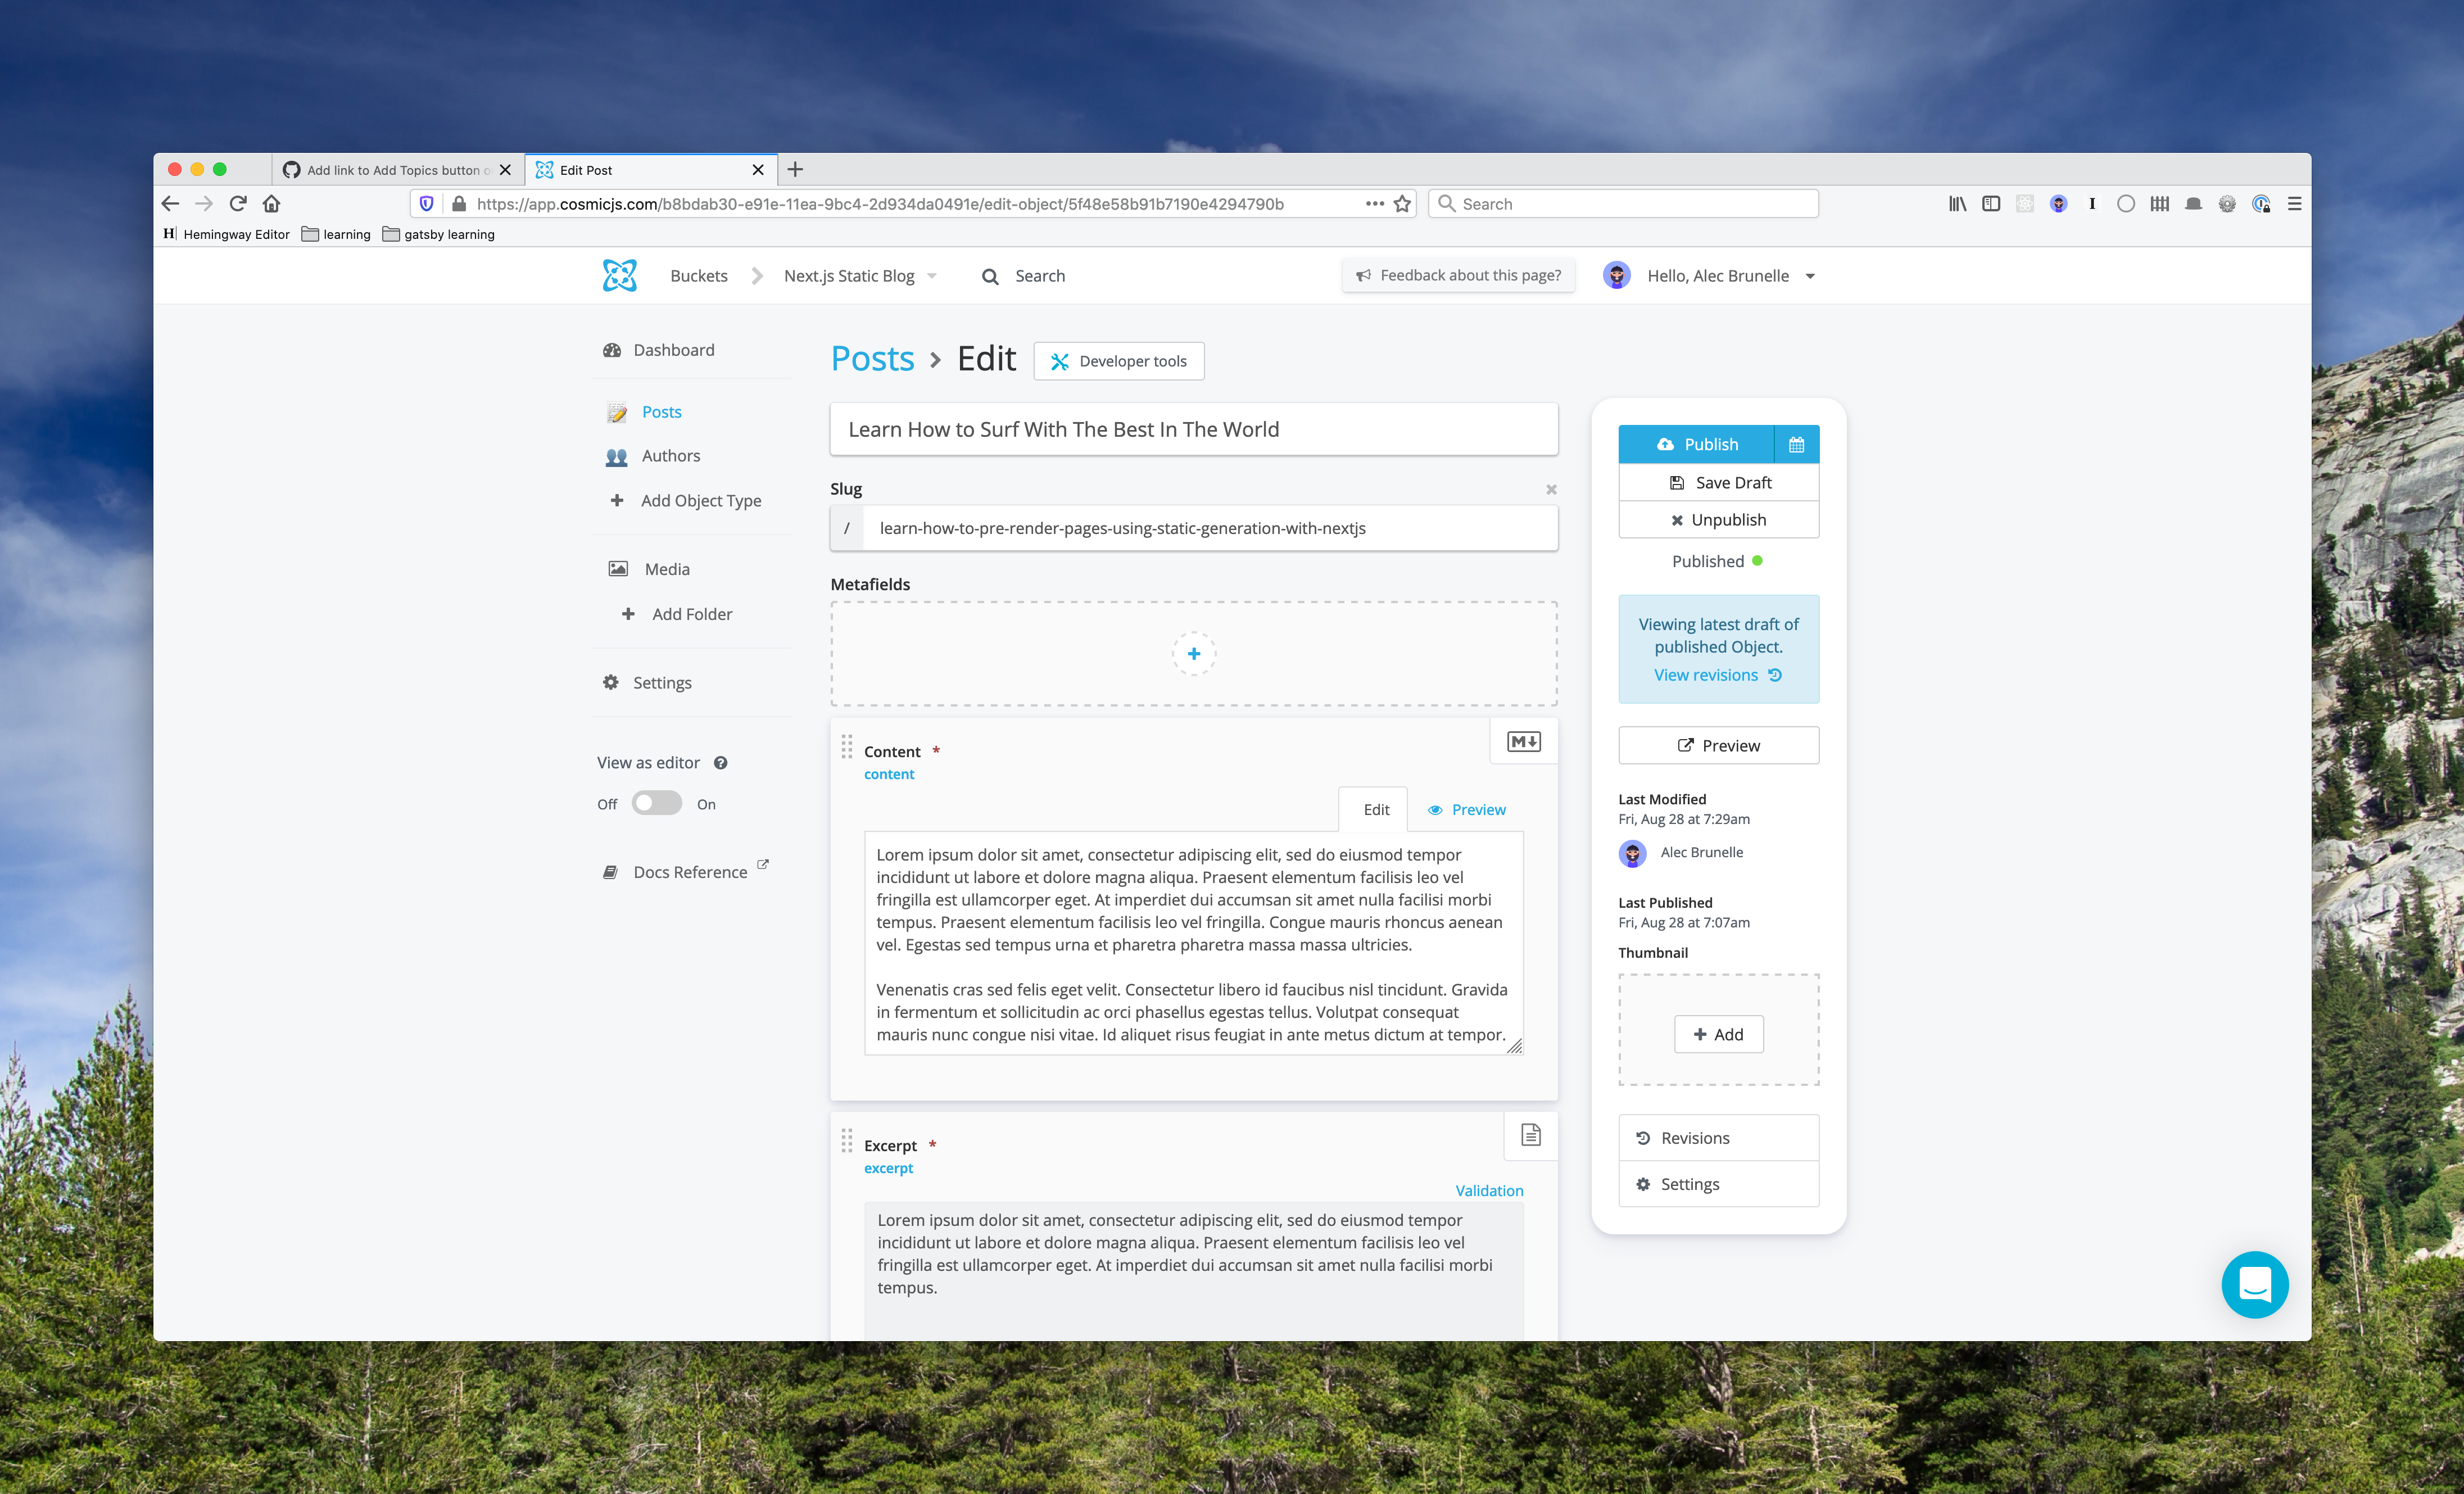
Let's try editing a post and see it show up on our local machine. Try changing the title of "Learn How to Pre-render Pages Using Static Generation with Next.js" and click "Save Draft" instead of "Publish".
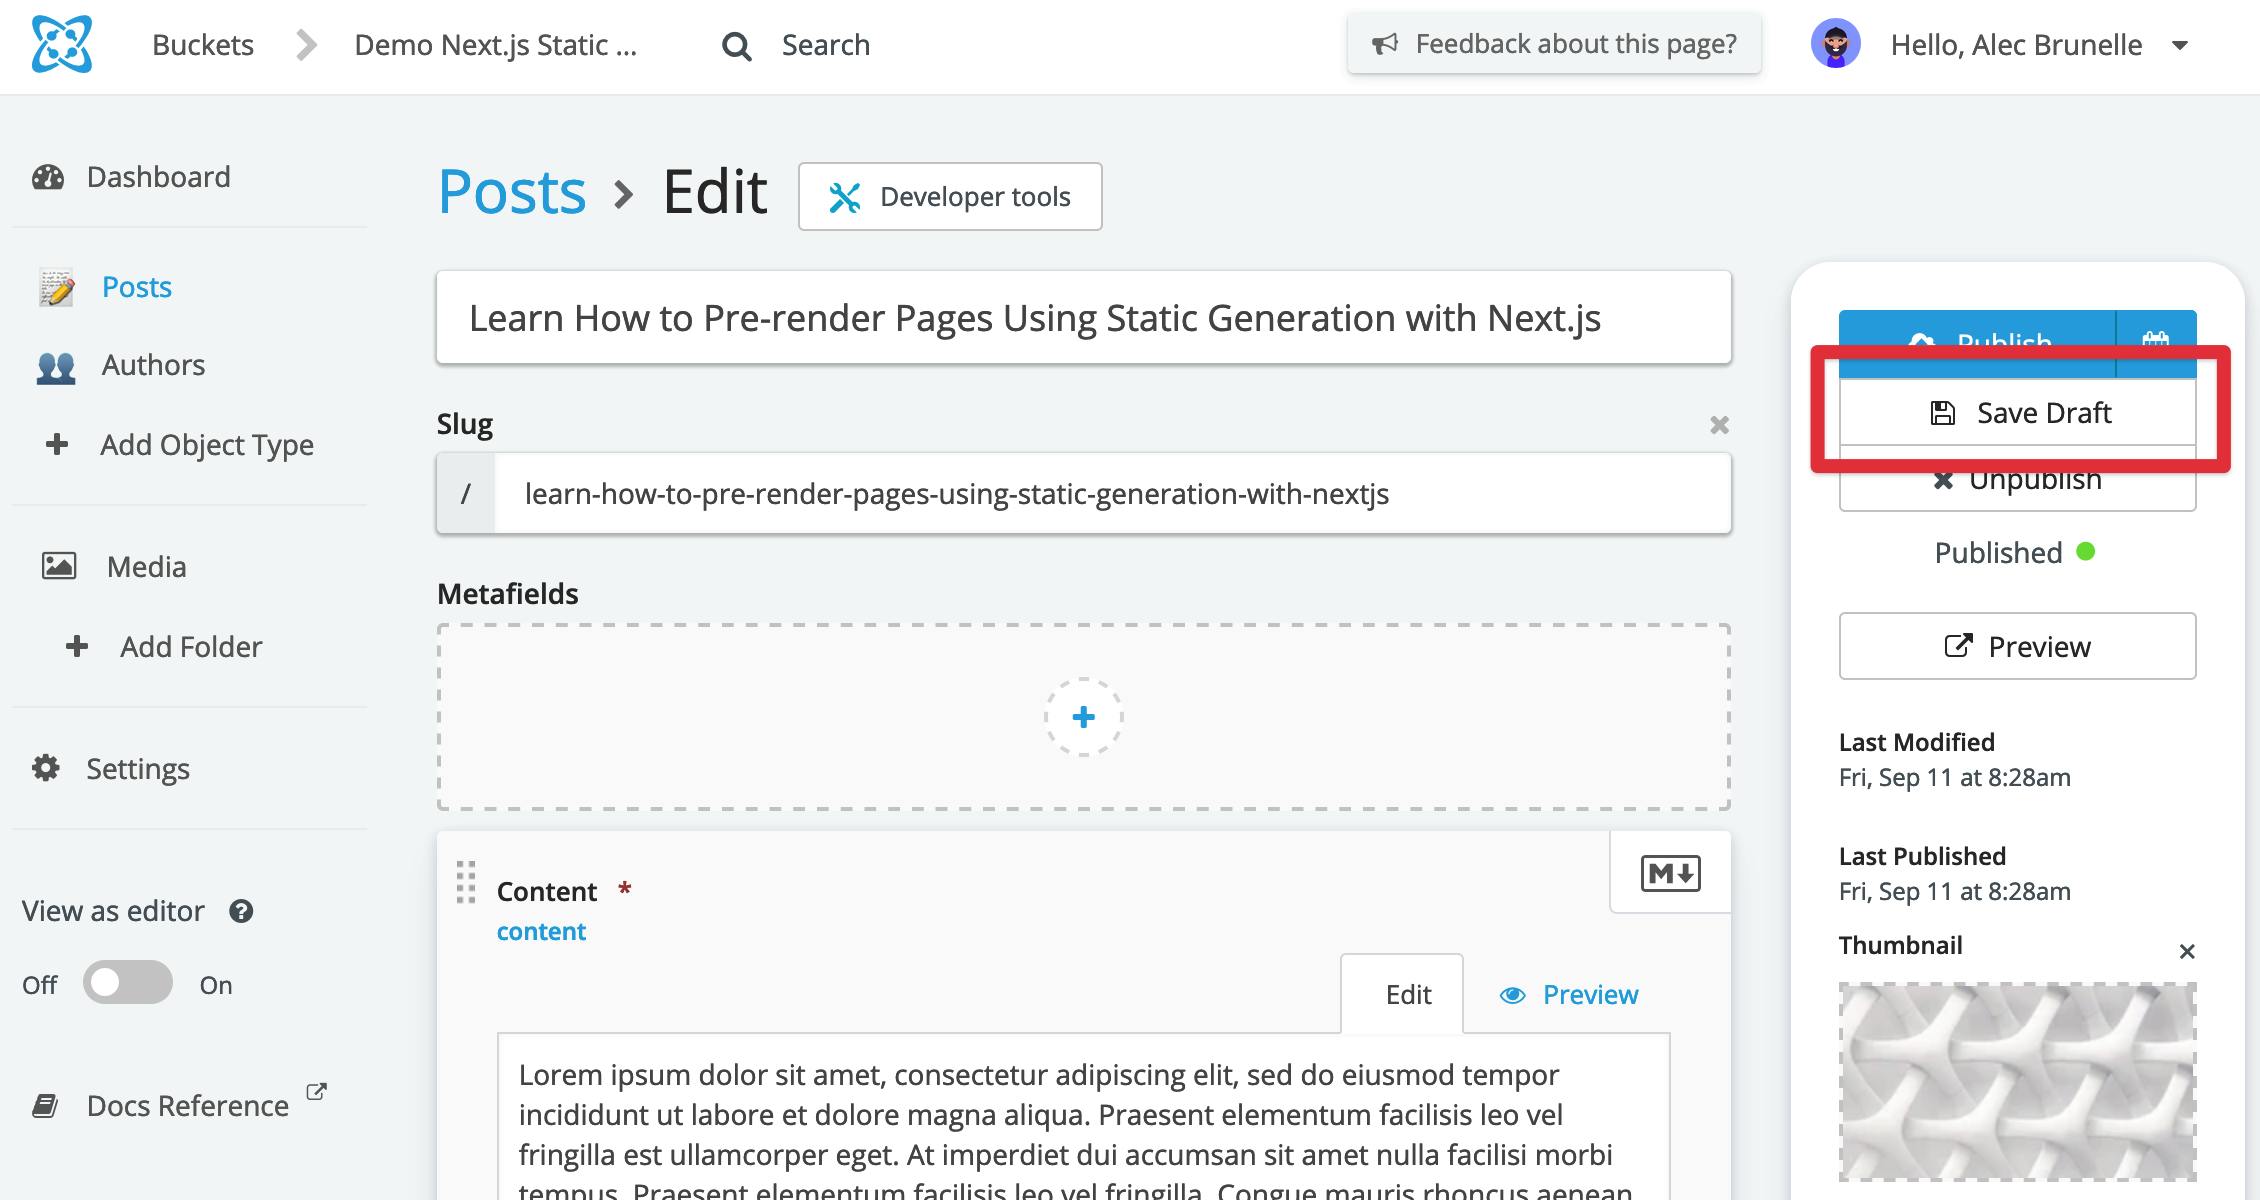
The Save Draft button
We now have unpublished changes. Run the app locally with yarn dev and then click "Preview" right under "Save Draft".
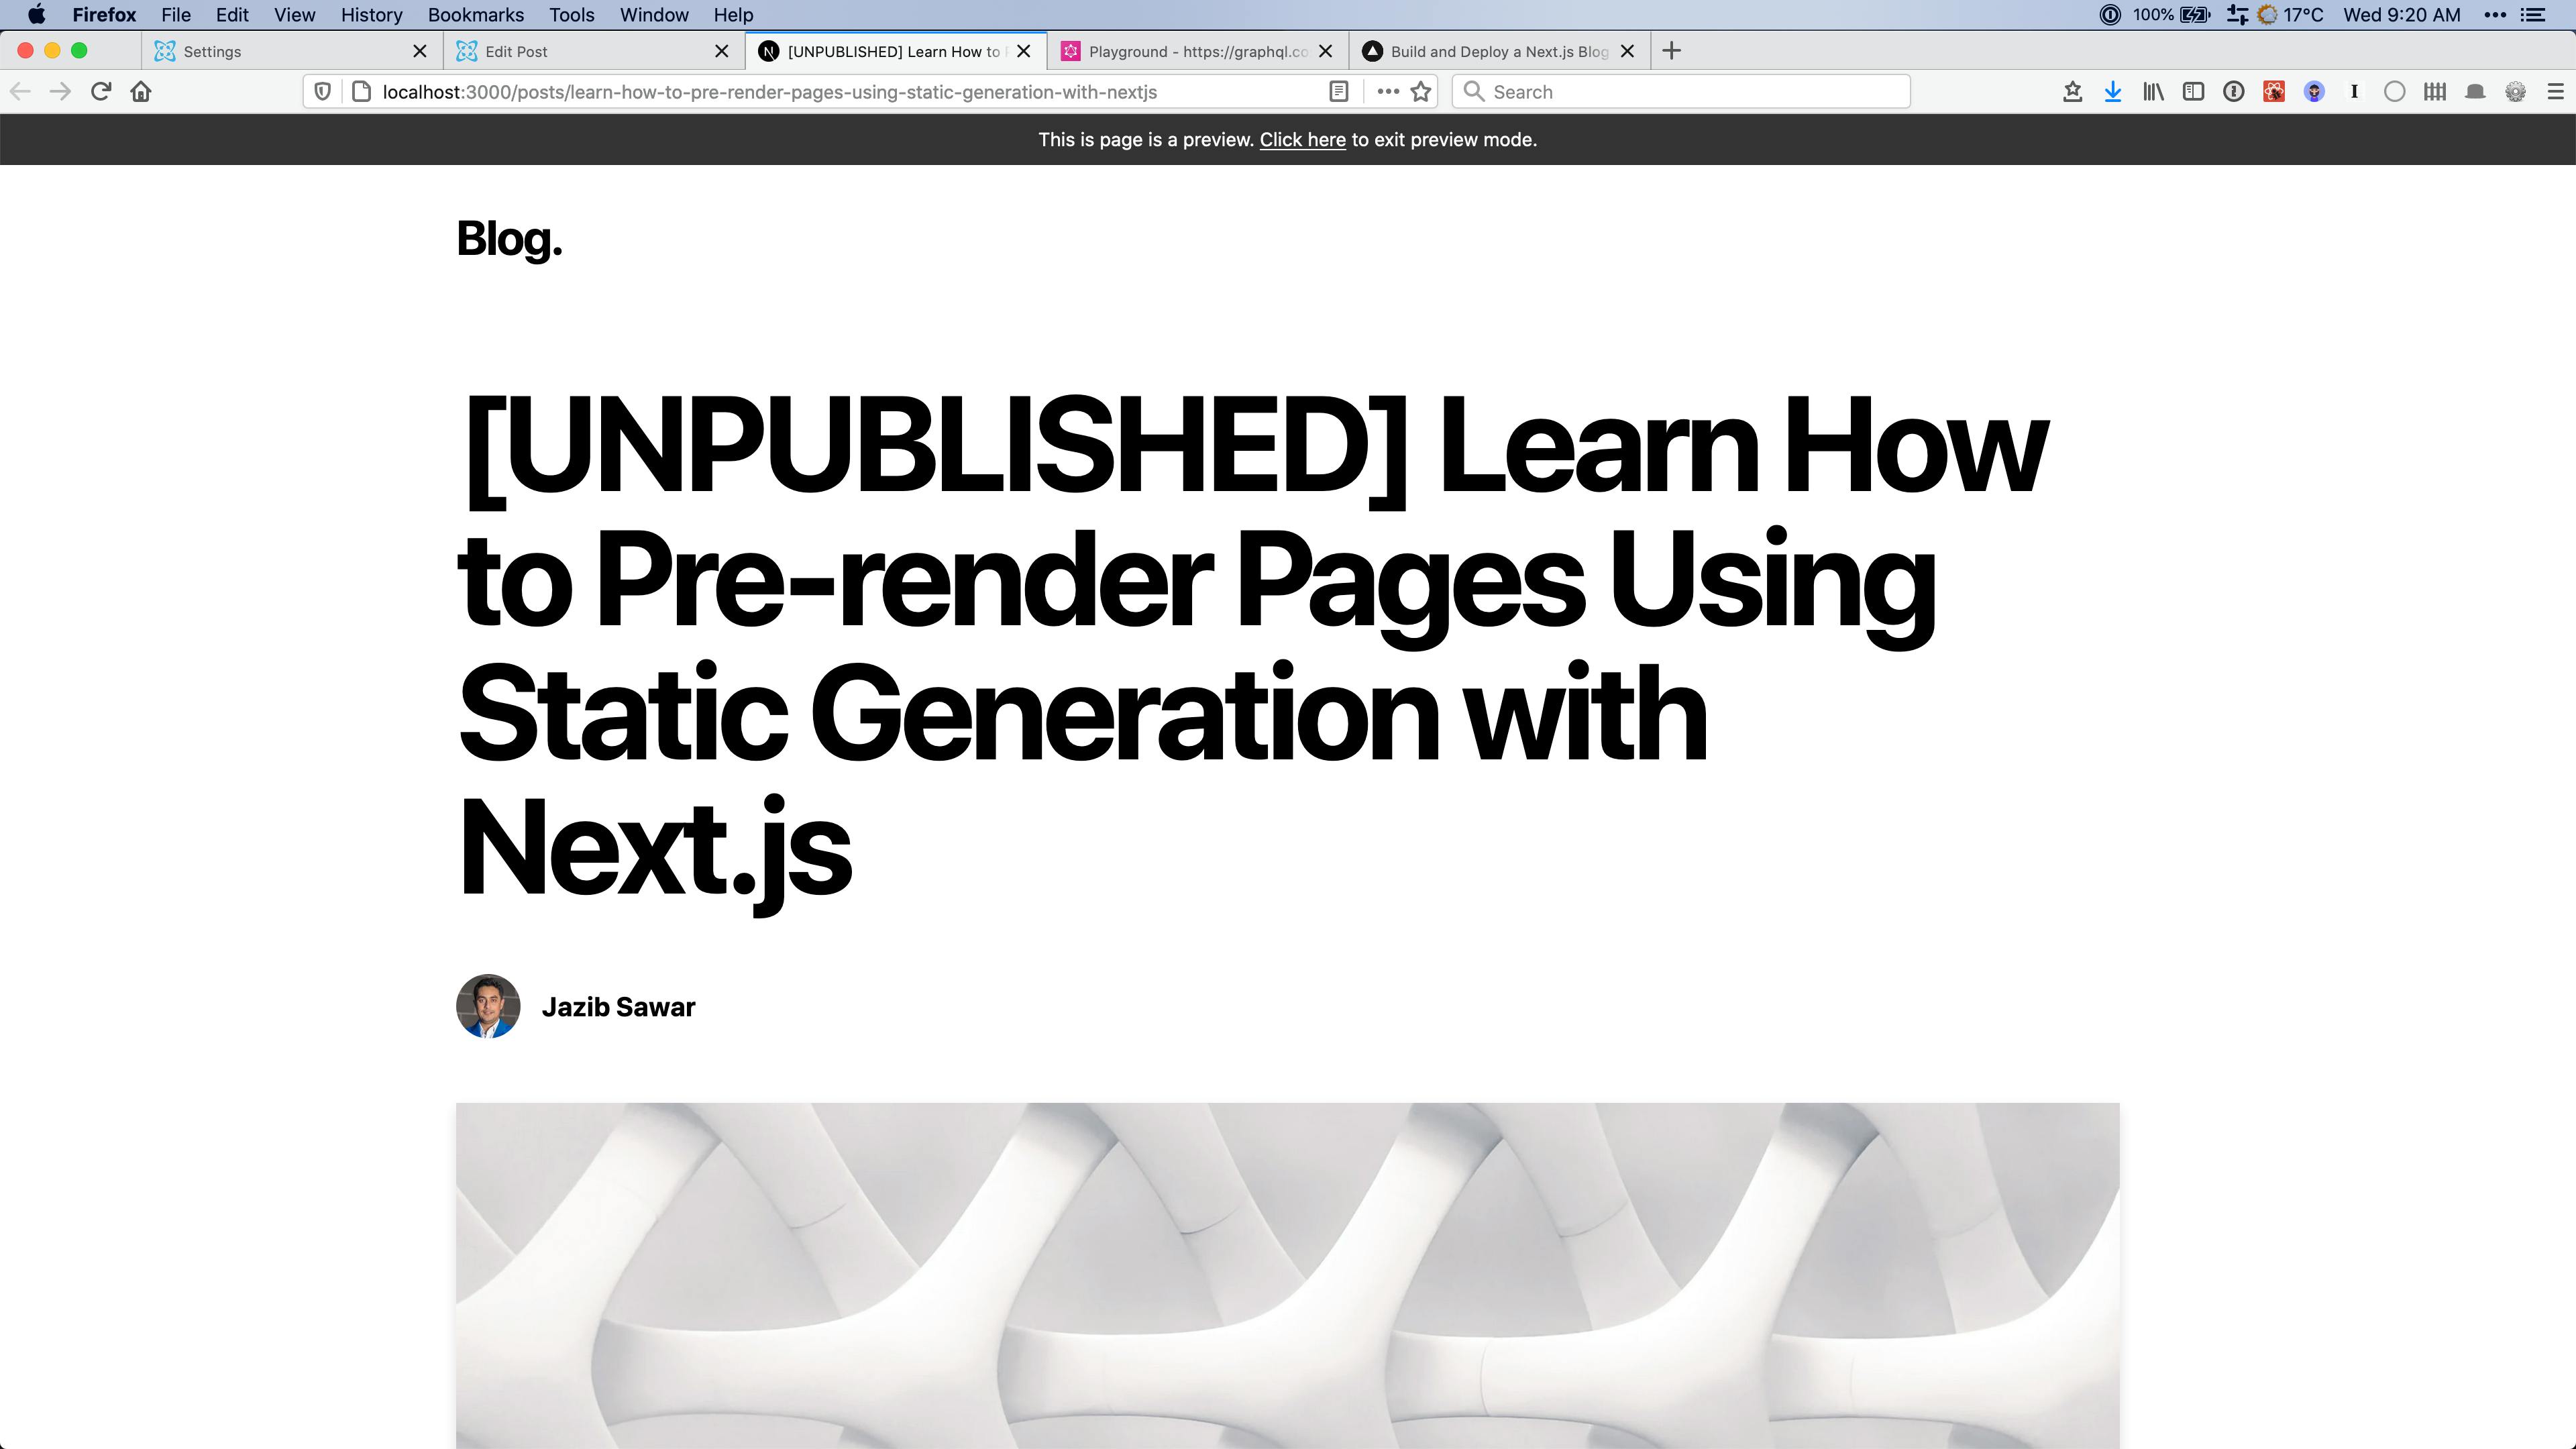
Our preview mode!
Webhooks
Note this feature requires a Cosmic paid plan
The only way to deploy new content to our blog is to have a developer push to the default git branch. This action will trigger Vercel take the new code and push a new version of our website. We ideally want our content creators to have the same control. Webhooks are a way we can do this.
Let's set up a webhook which lets Vercel know when our posts in Cosmic have new updates. This will let us deploy new versions of the website without developers needing to do anything.
Go to the Git integration settings page (vercel.com/[project]/settings/git-integration) in your Vercel project and create a new Deploy Hook named "Cosmic Hook".

What your settings should look like when the webhook is created
Now over in Cosmic settings, we can add this webhook. Let's add Cosmic notify Vercel when changes get published. You can see how we can do this for previews as well if we wanted to in the future.
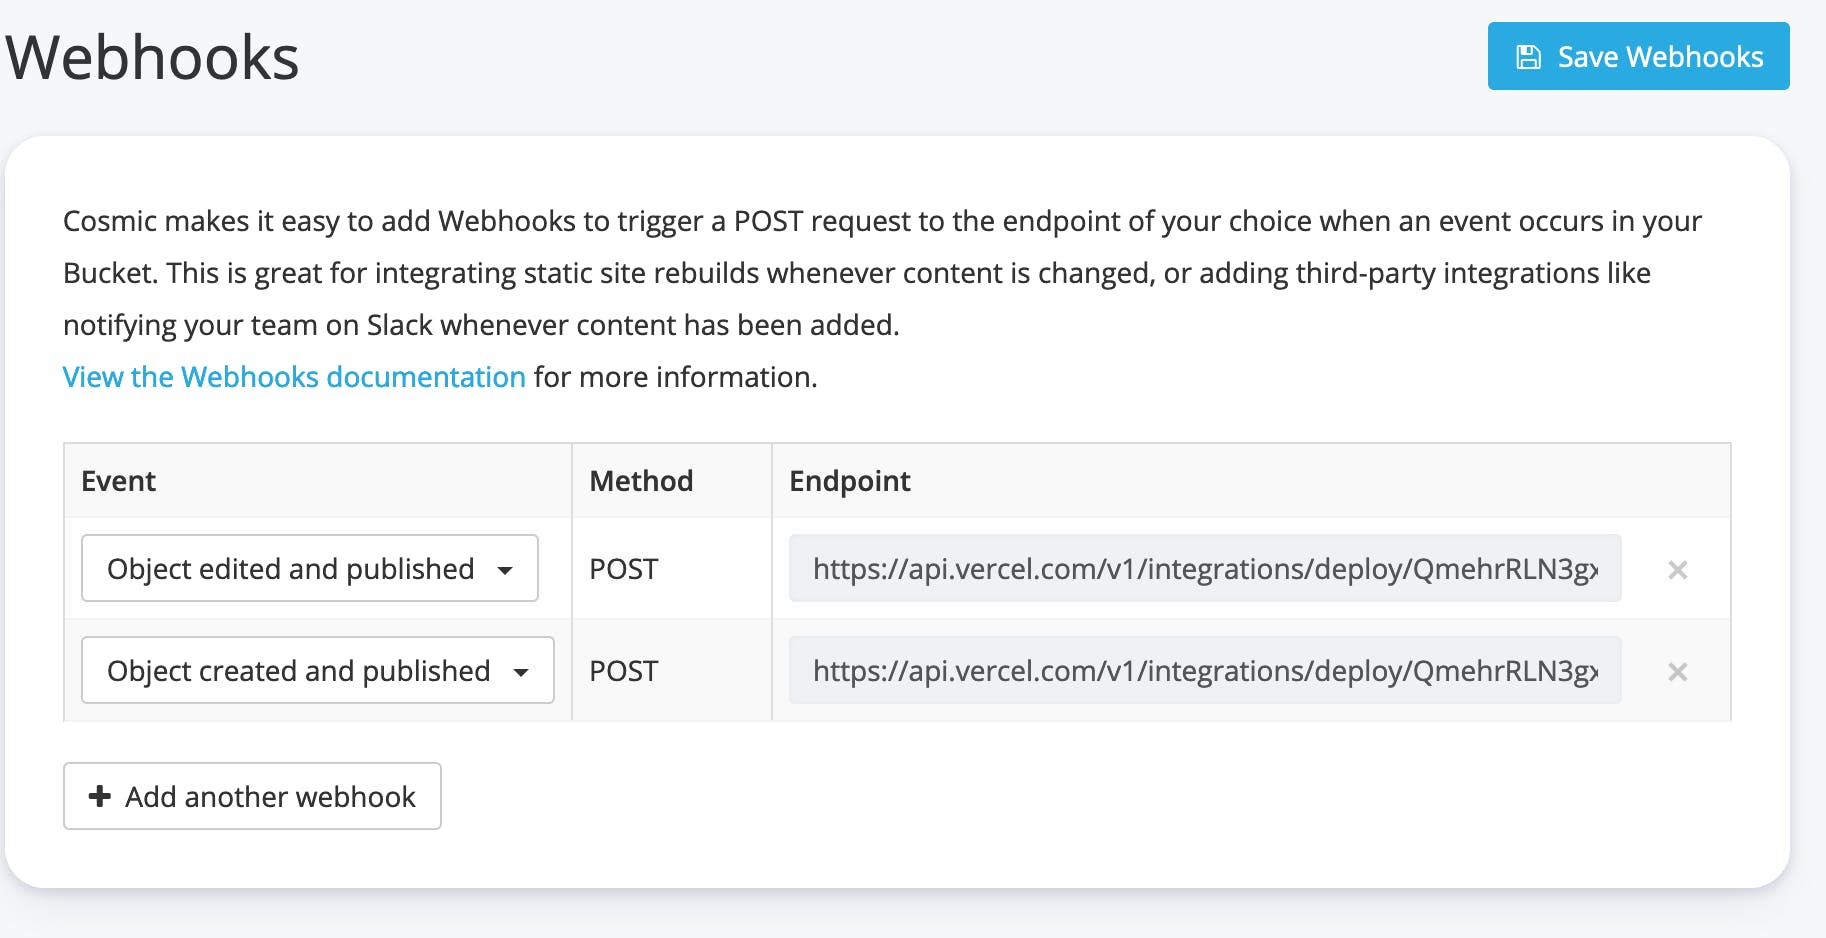
Edited/Created and Published!
To test this go to the same post we tested Previews with and add some content to the end of the article and publish. You should see a deploy happen on Vercel with the new content deployed to the live version of your website!
Conclusion
Want to see what the final website looks like? Click here to check it out.
Like this post? Subscribe to my email newsletter for more like it in the future.