Quit Google Analytics and Self-host Your Gatsby Statistics with Ackee
Own Your Data

There are many different goals one can have when it comes to hosting your own website or blog. For myself, it means just having a place where I own the content of my words and can customize it to my liking. When it comes to analytics, my needs aren’t many, as most of my audience reads my content via platforms like dev.to or Medium. All I need to know is how many people visit my site, which posts are doing well and where users come from (referral links). Given my recent obsessive elimination of all things tracking and advertising in my life, I chose to stop supporting Google and move from Google Analytics to something self-hosted. It wasn't an easy product to use and most of the features were useless to me as I don't sell anything on my blog. This way I own the data and am not contributing it to a company that could use it in potentially malicious ways.
I set out to search for a new tracking tool for my blog. My criteria for choosing a new product were:
- Be simple
- Have features I will use
- Put a focus on privacy
- Built with a programming language I know so making changes is easy
- Be able to easily host on a Platform-as-a-Service like Heroku
- Have the ability to be easily added to a Gatsby blog
- Have an option to not collect unique user data such as OS, Browser Info, Device & ScreenSize
Meet Ackee
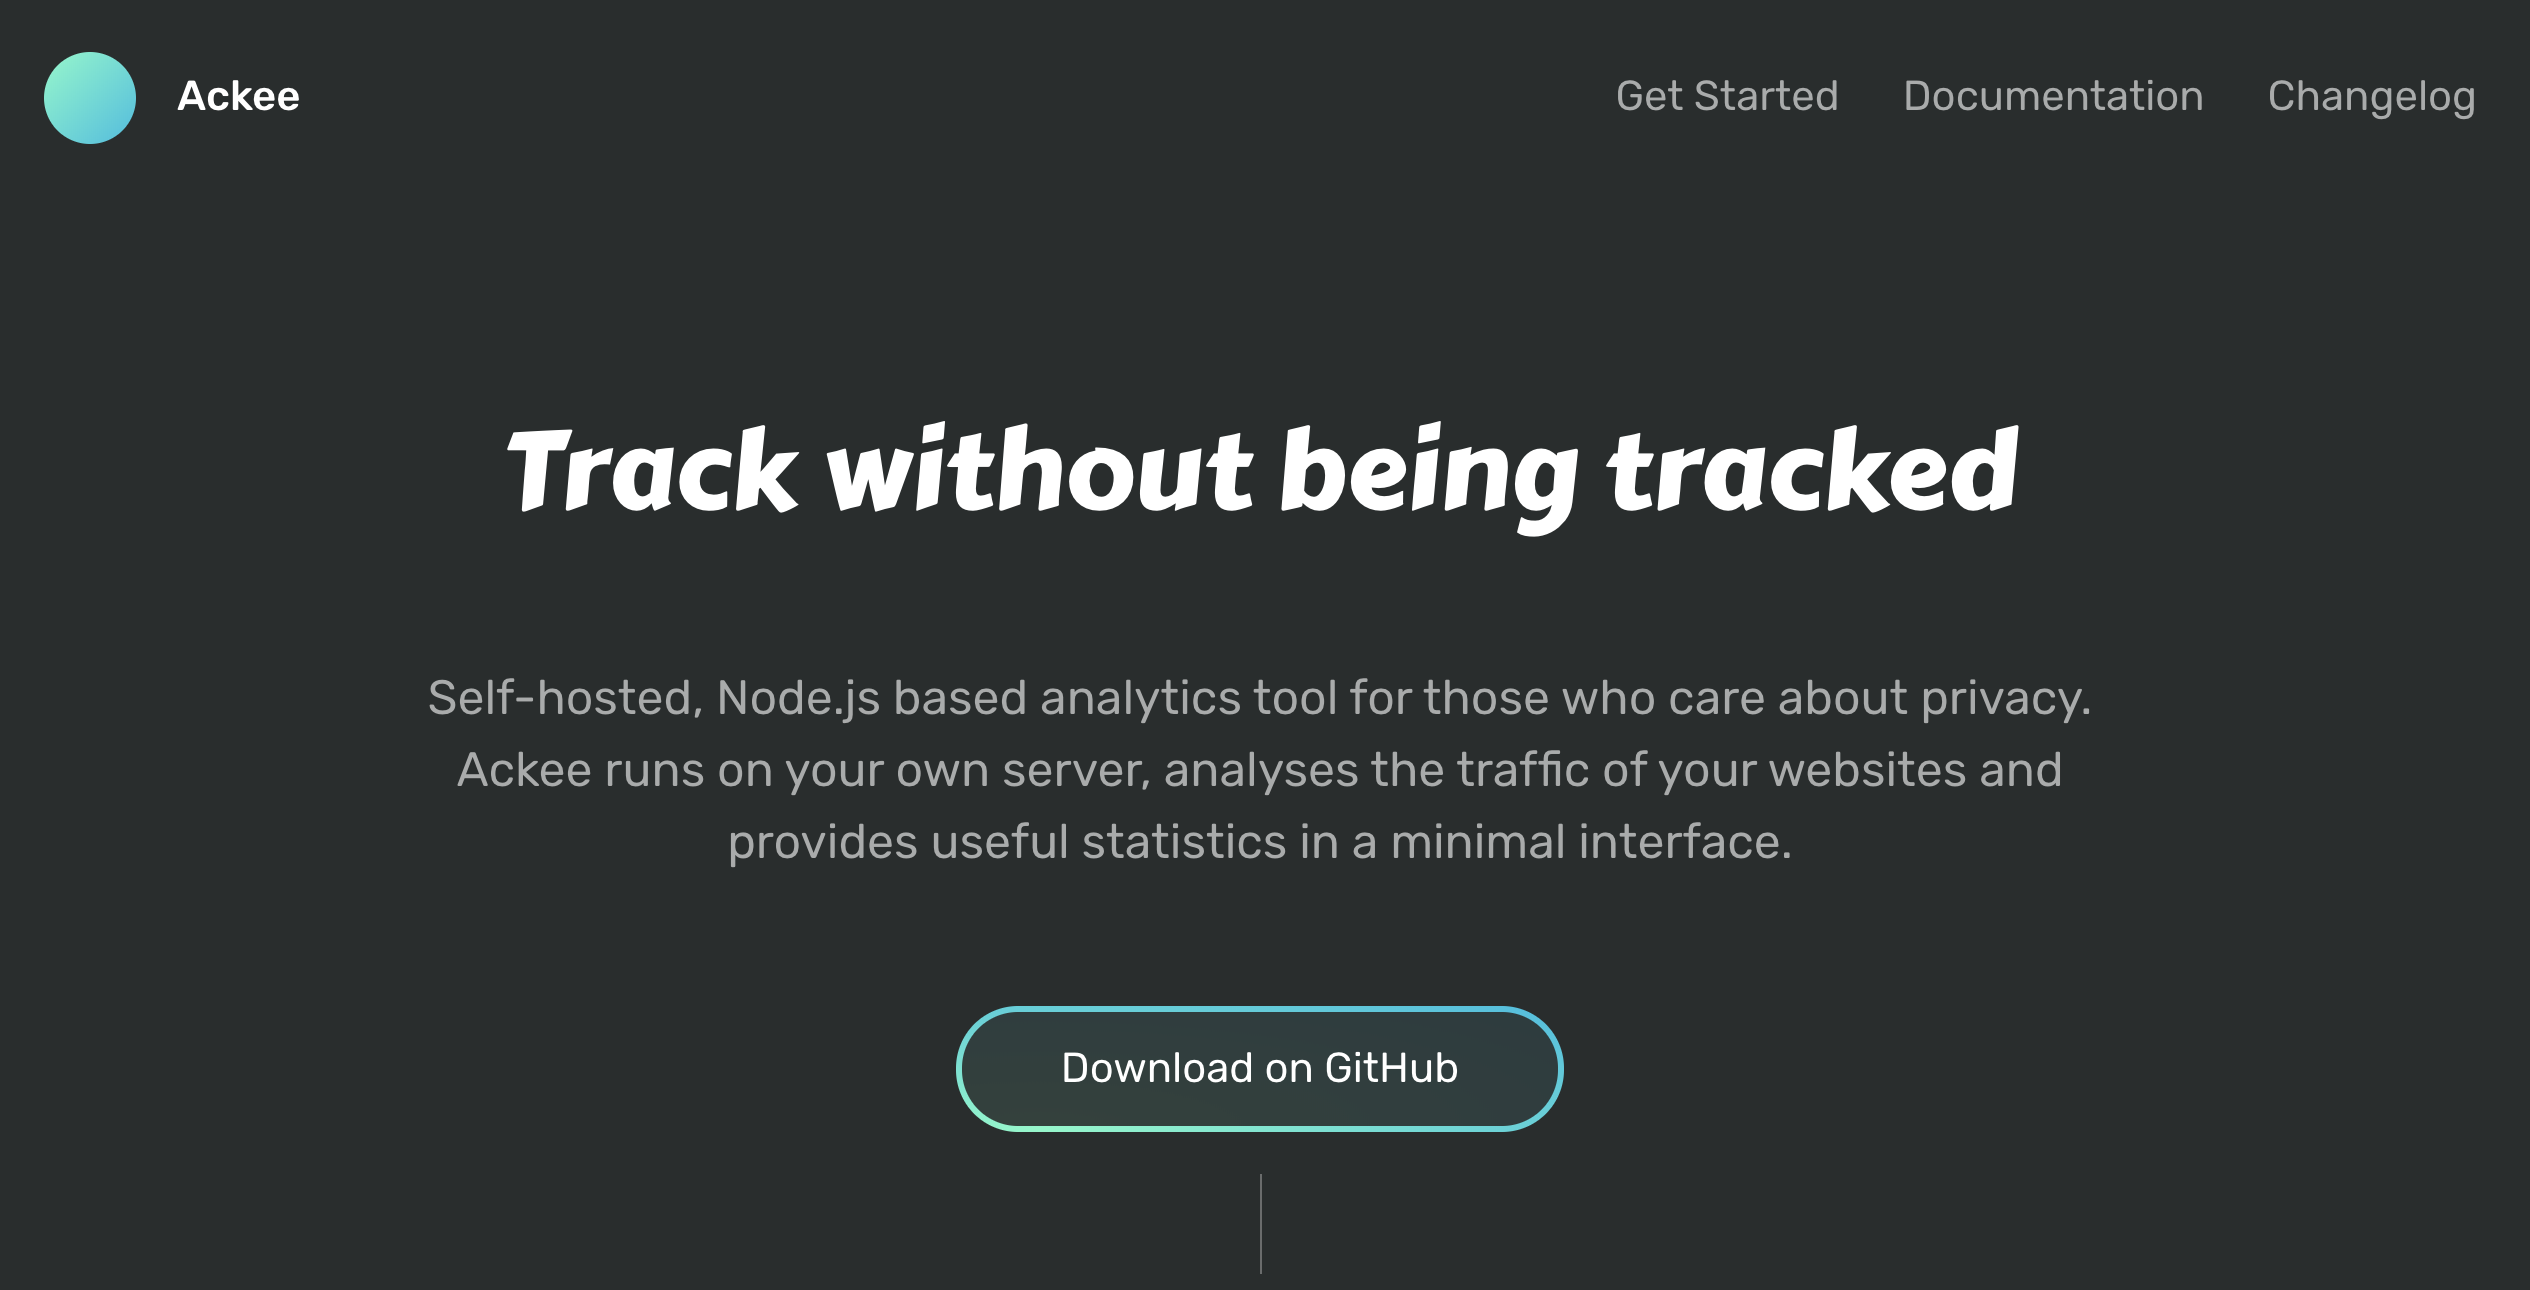 Beautiful, isn't it
I came across Ackee 🔮, a self-hosted analytics tool. This tool fit my requirements almost perfectly. It is built using Node.js which I have experience in and it focuses on anonymizing data that it collects. More information on how Ackee anonymizes data here.
The steps you need to take to start collecting statistics with Ackee are to start running it on a server, Heroku in my case, add the Javascript tracker to your Gatsby site and test to see if the data is flowing correctly.
This a detailed guide on how I went about deploying it to Heroku. Afterwards, I contributed back a Deploy-to-Heroku button which deploys it in one-click. Find the button here.
Up and running on Heroku
First thing is to start running the server which is going to receive the tracking data from your website.
Create a new Heroku app instance
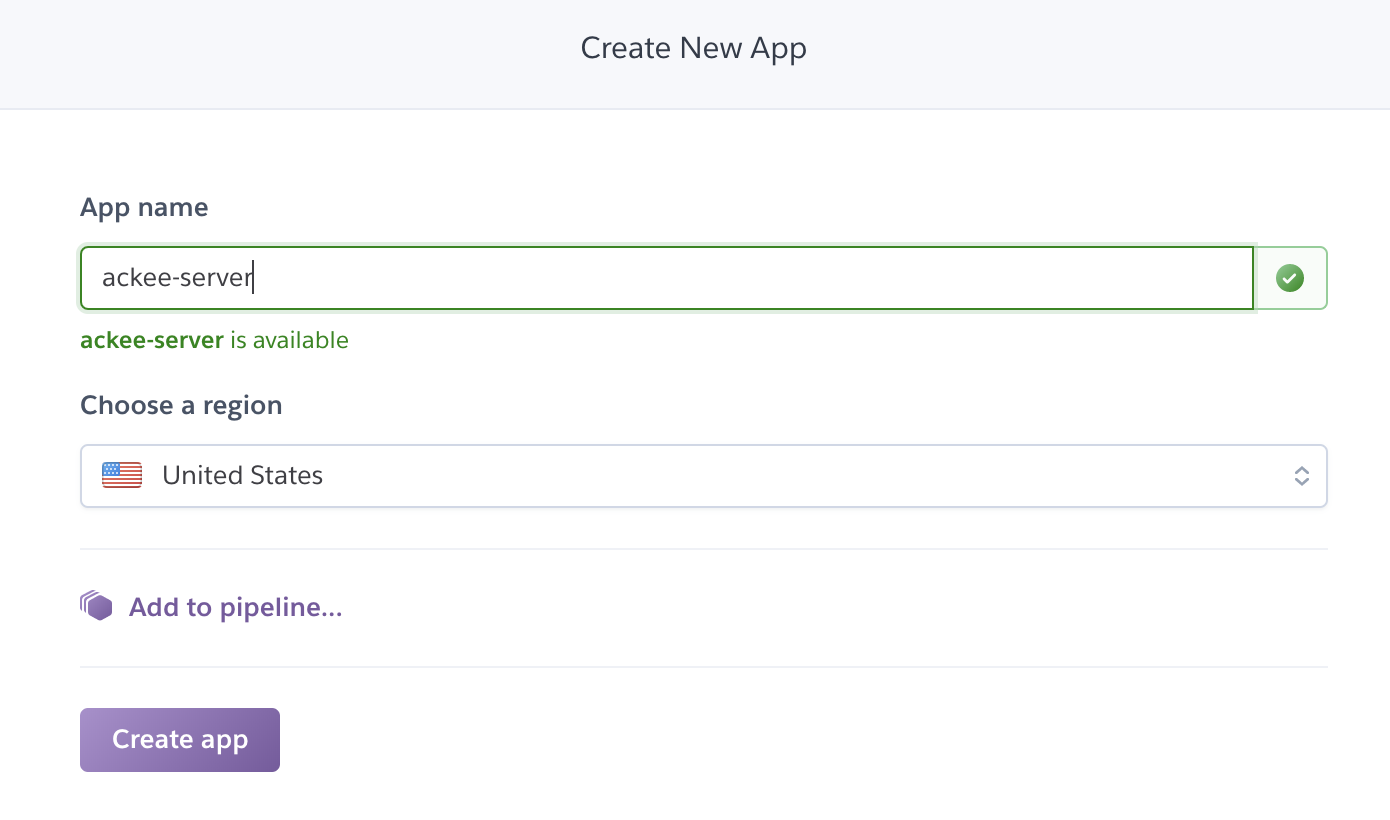
Use the heroku-cli to upload the code
# clone the code
git clone git@github.com:electerious/Ackee.git

# login to heroku
heroku login

# add the heroku remote
heroku git:remote -a ackee-server

# push the code
git push heroku master
Configure a MongoDB add-on, this is where the data will be stored
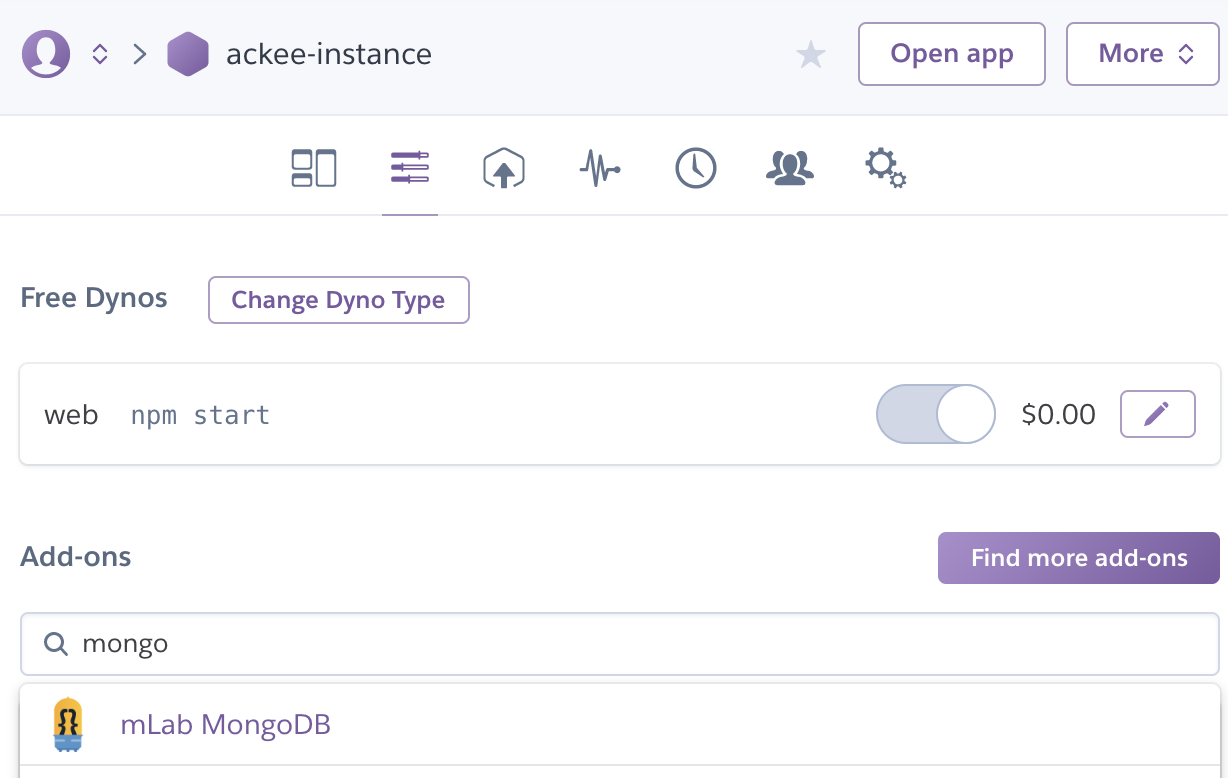
Configure the environment variables
heroku config:set ACKEE_PASSWORD=<your password>
heroku config:set ACKEE_USERNAME=<your username>
And voila! You are finished, that was easy, wasn't it? Open the webpage Heroku automatically configures for you, it should be https://ackee-server.herokuapp.com/, you should see this:
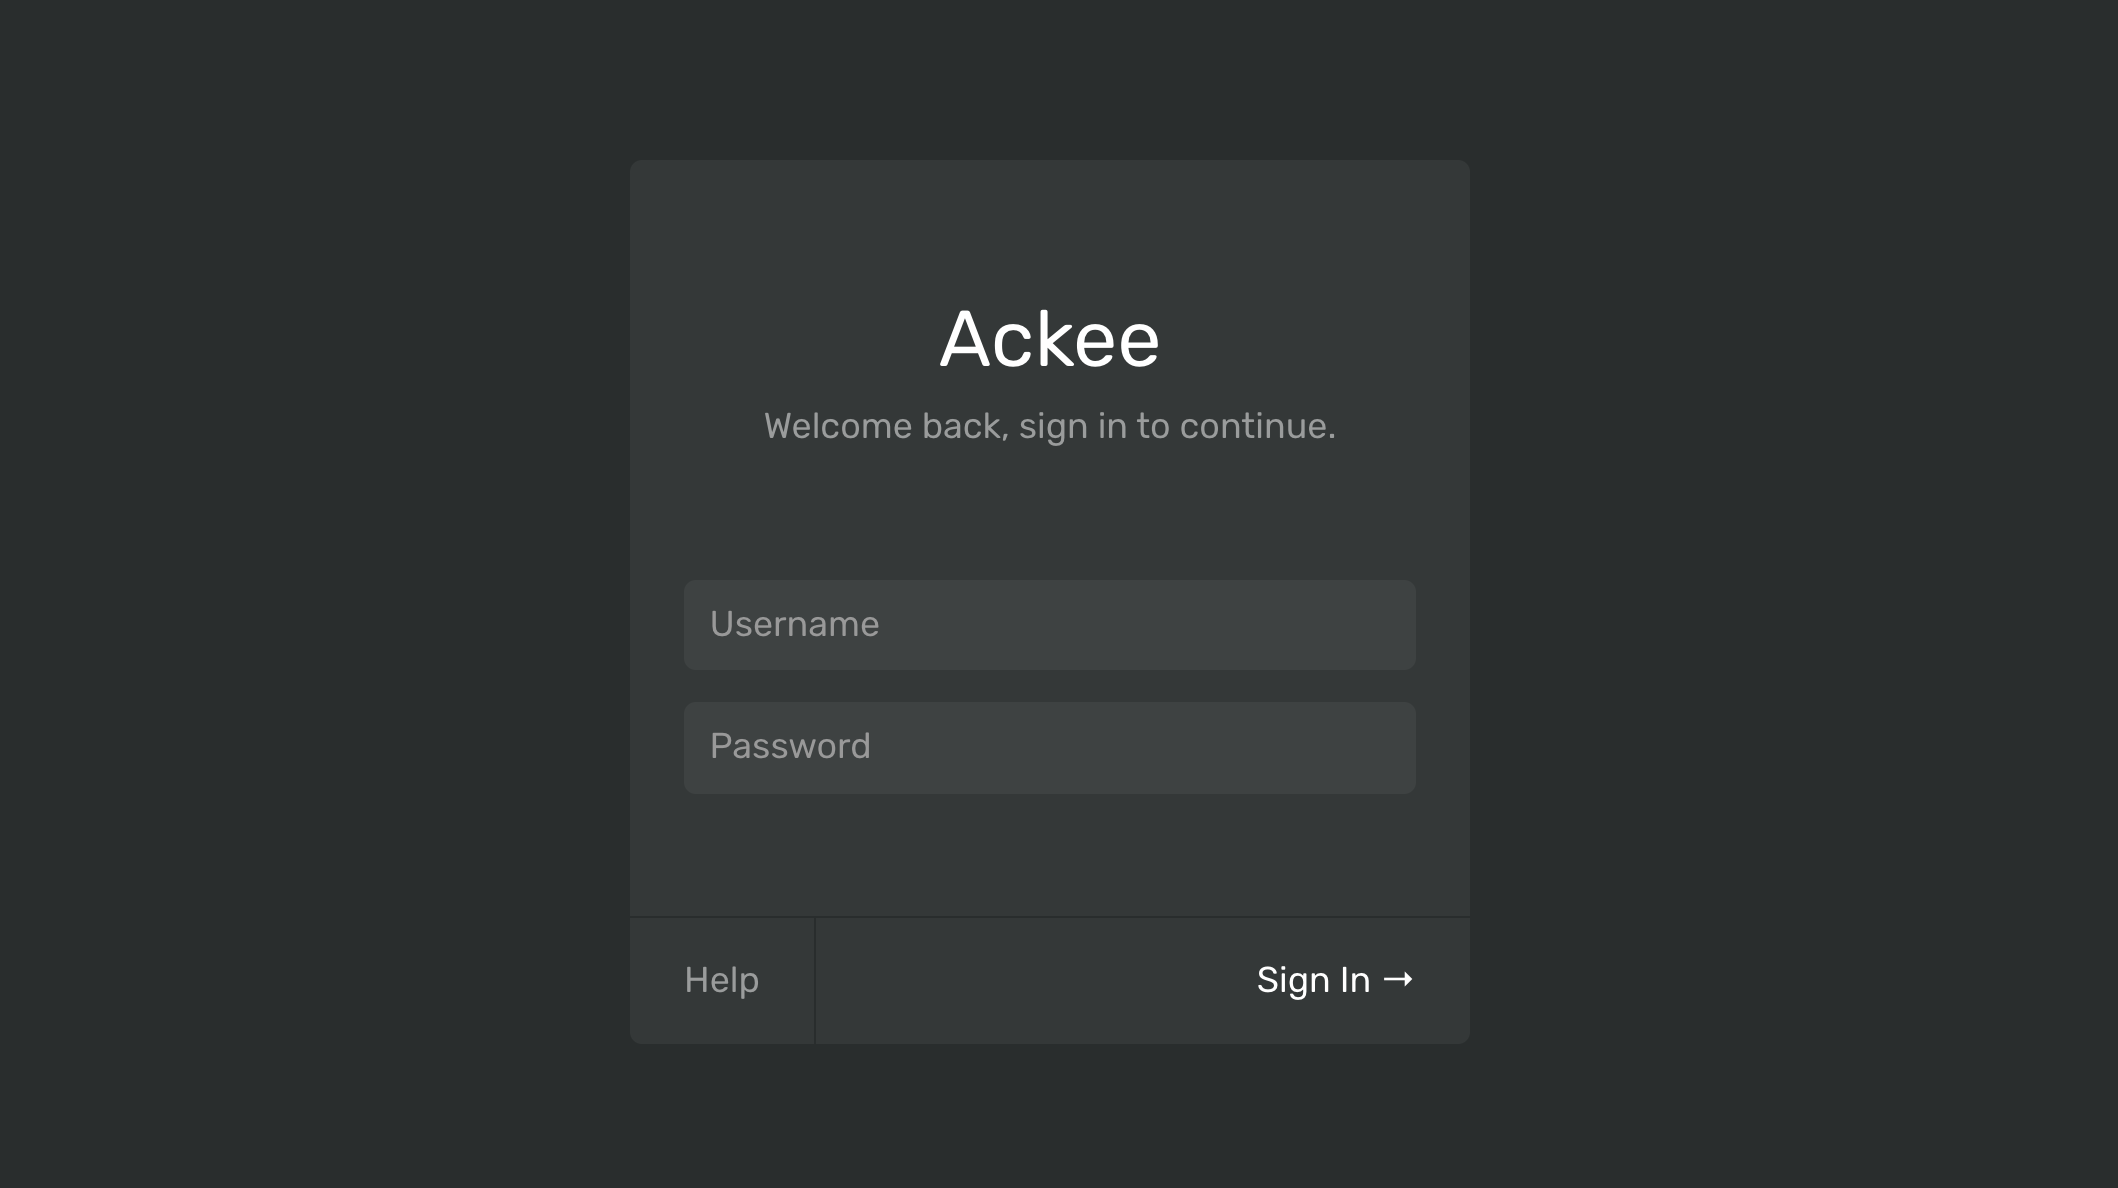 The log in page!
Adding the tracker
Now we need to send data over from the website to the server we now have running on Heroku. If you are using Gatsby, this is incredibly easy with the plugin.
Install the tracker
npm install gatsby-plugin-ackee-trackerCreate a domain on Ackee and get the domain id. Find this option in the settings tab of your Ackee instance.
- Add it to your Gatsby config
{
    resolve: "gatsby-plugin-ackee-tracker",
    options: {
        // Domain ID found when adding a domain in the admin panel.
        domainId: "<your domain id>",
        // URL to Server eg: "https://analytics.test.com".
        server: "https://ackee-server.herokuapp.com",
        // Disabled analytic tracking when running locally
        // IMPORTANT: Set this back to false when you are done testing
        ignoreLocalhost: true,
        // If enabled it will collect info on OS, BrowserInfo, Device  & ScreenSize
        // False due to detailed information being personalized:
        // https://github.com/electerious/Ackee/blob/master/docs/Anonymization.md#personal-data
        detailed: false
    }
},
Run the site locally
gatsby develop
Testing to make sure it worked
Open up your site at http://localhost:8000 and go to a new url.
Observe the network requests your site is sending. You will notice it now sends requests to your Heroku instance.
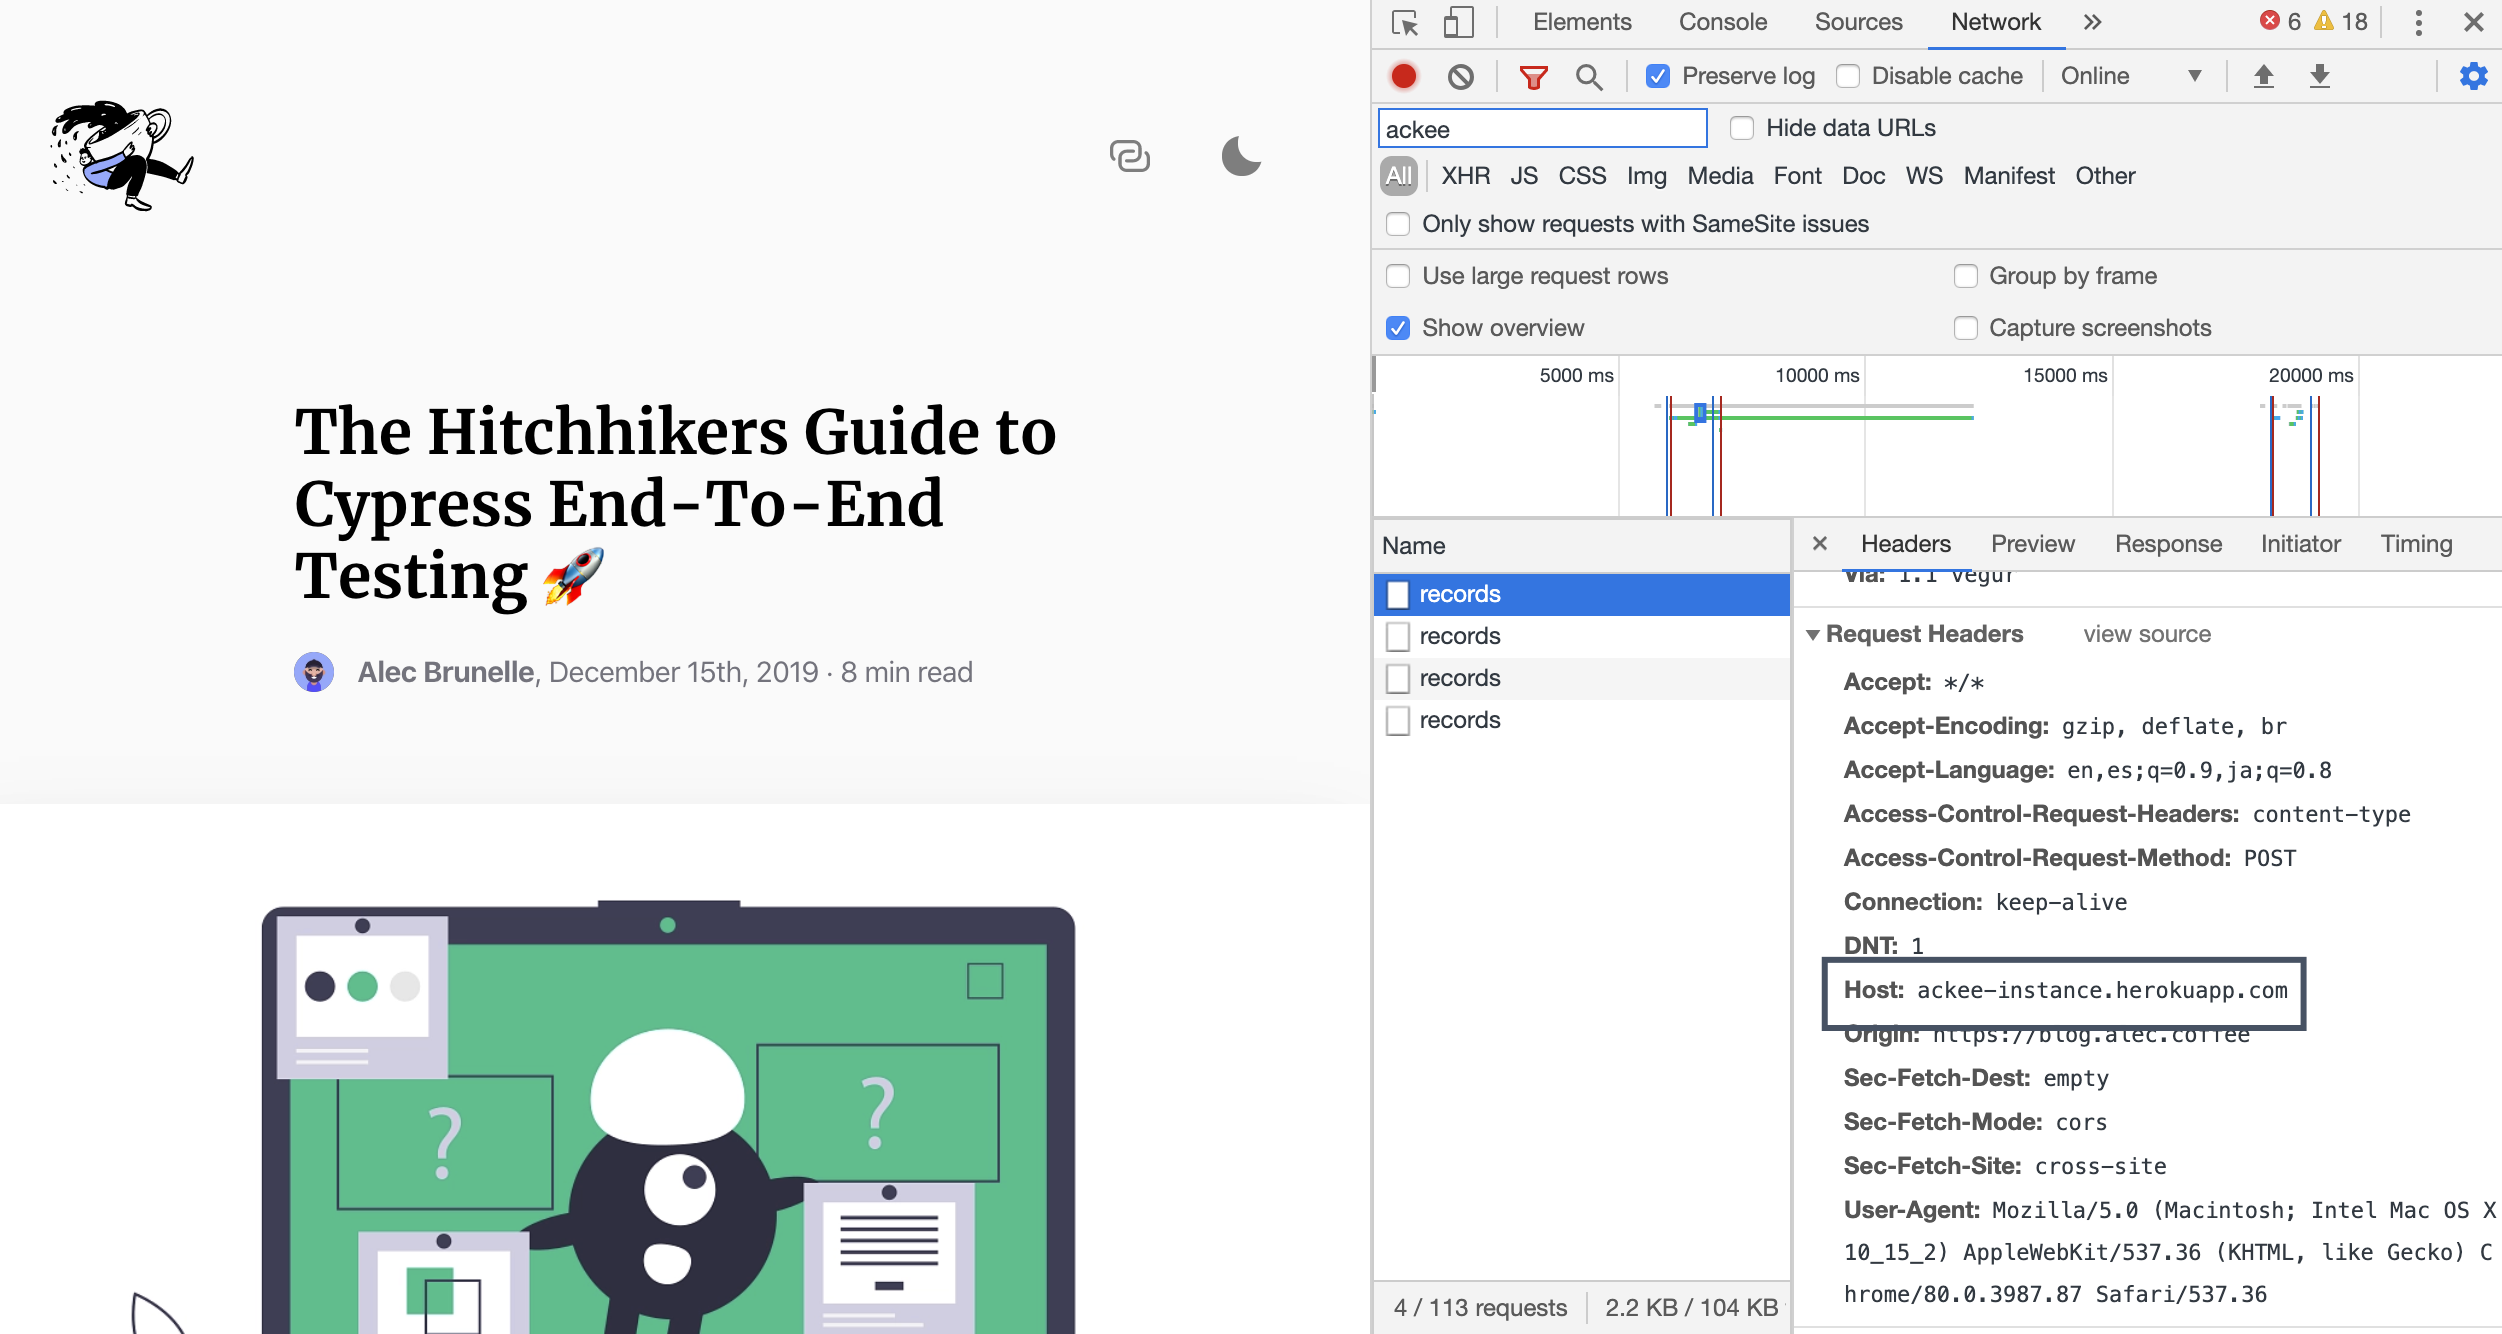 Using the dev tools
And with that, we now have the server running Ackee and our Gatsby sending analytics!
What you get
Let’s explore Ackee, shall we.
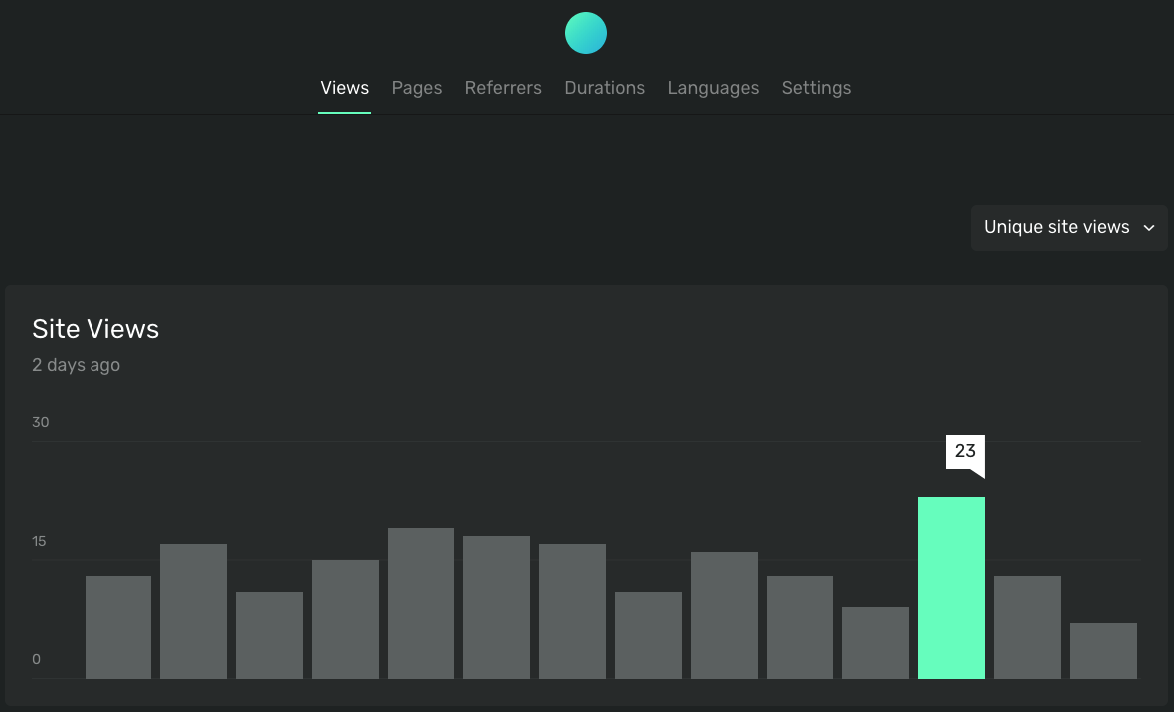 Home page with total site views
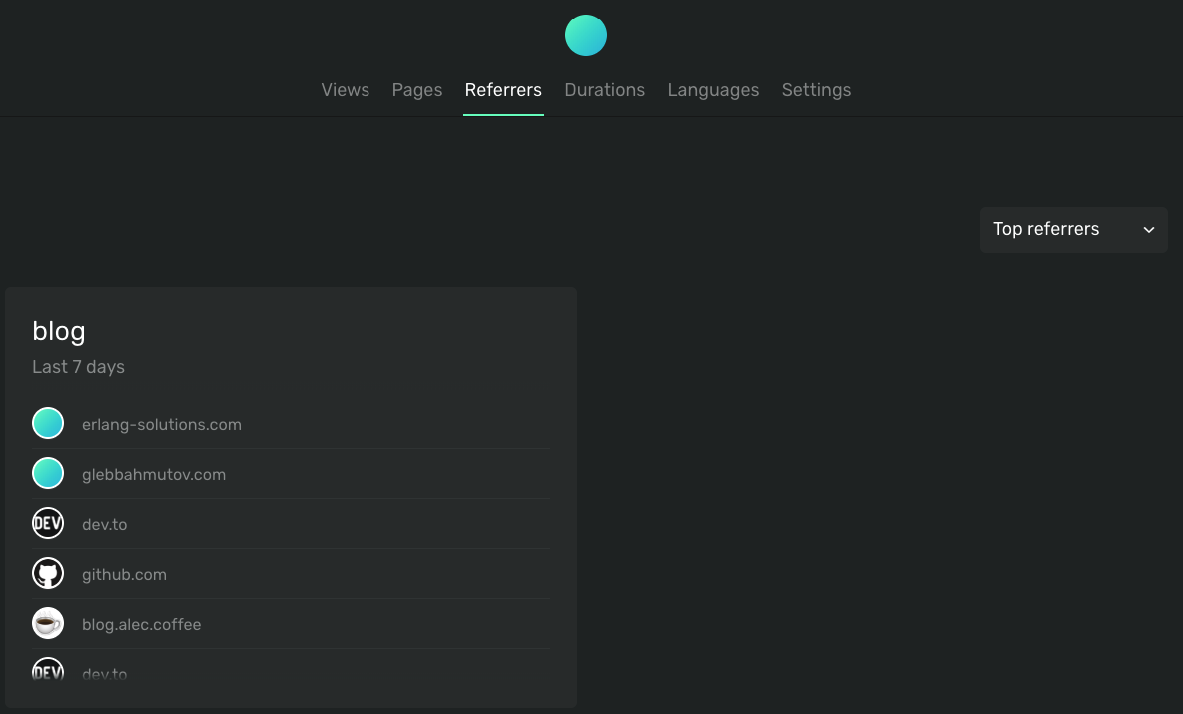 List of referrers
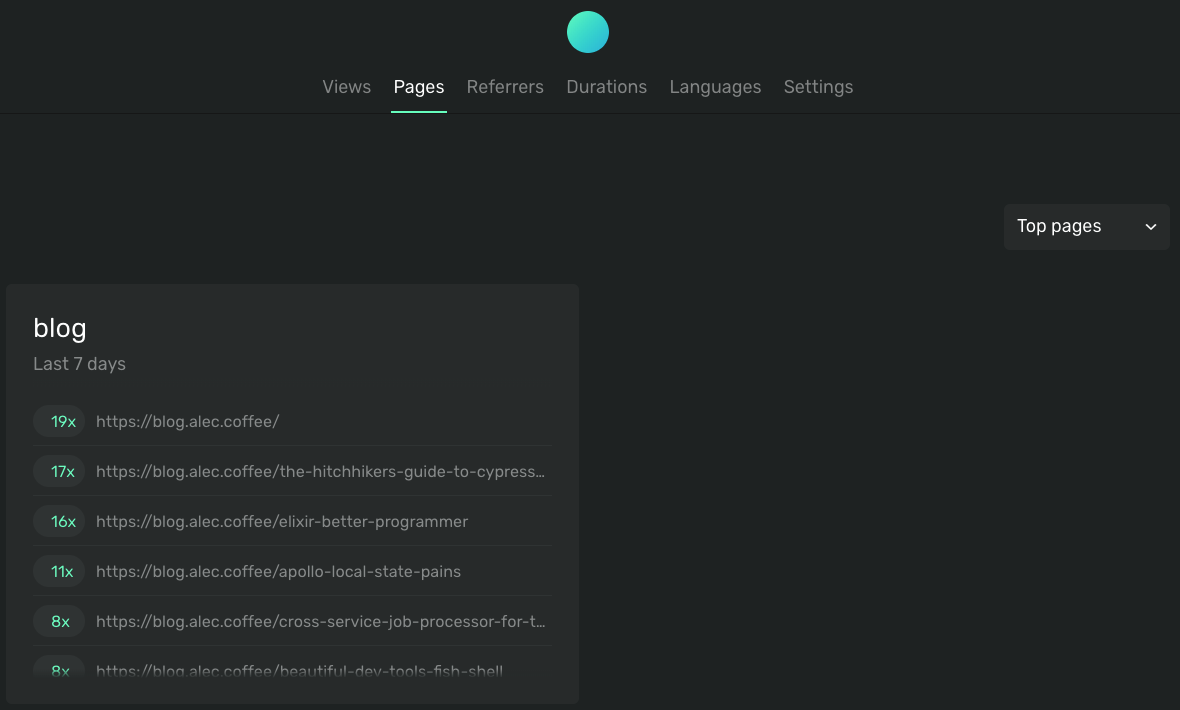 Per page view count
Alternatives
Here are some alternative methods I considered when thinking about analytics for my blog.
No tracking
Combined with the fact more and more people are blocking trackers all-together (Firefox, Brave and Chrome ad blocking extensions), JavaScript-based tracking is becoming less and less valuable over-time. Most analytics can easily become a way to be vain about your blog and you can start a bad habit of always checking them (wasted time compared to producing actual content). Deciding not to track any analytics at all is not a bad decision these days.
Server-side analytics
The most private and fast way of collecting analytics on your website may be to collect analytics at the server level. What this means is instead of using a JavaScript tracker (which may be blocked by the browser), stats are collected when the HTML is sent from the server. Integration with your static host provider or DNS provider is needed here. The main con about this method is that data is collected by a third party service and also is usually not free. Cloudflare offers these types of analytics alongside Netlify. A huge benefit is the ease of setup, usually the provider just turns it on with a switch on their side, no setup needed from you.
Comments
Join the discussionNo comments yet. Be the first to comment.